• Home
  • Frey Perímetro AP-600

Frey Perímetro AP-600

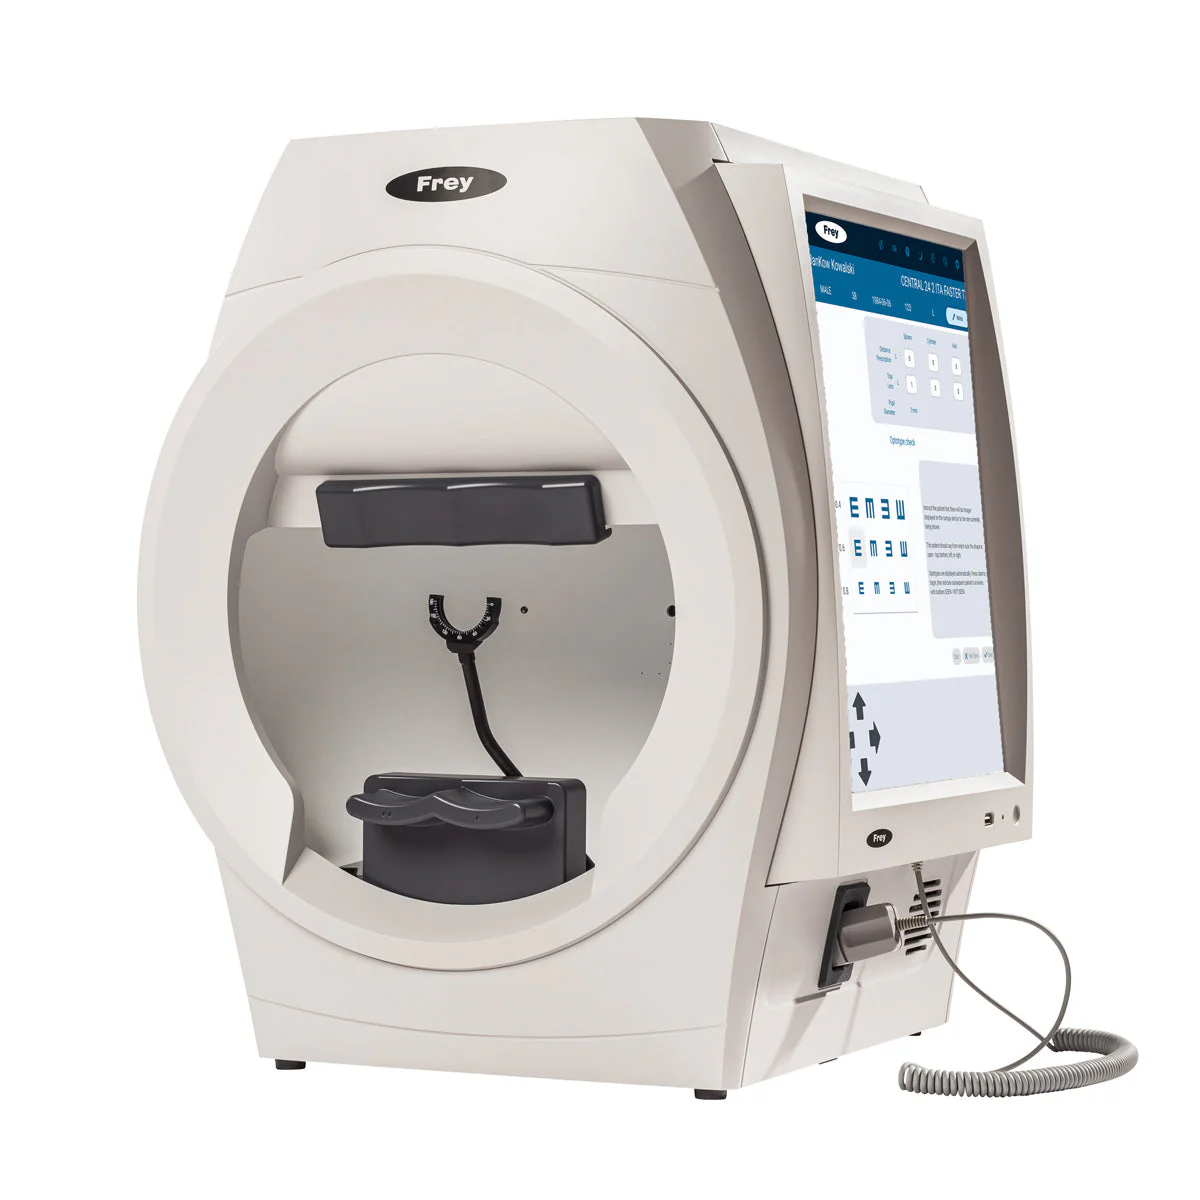
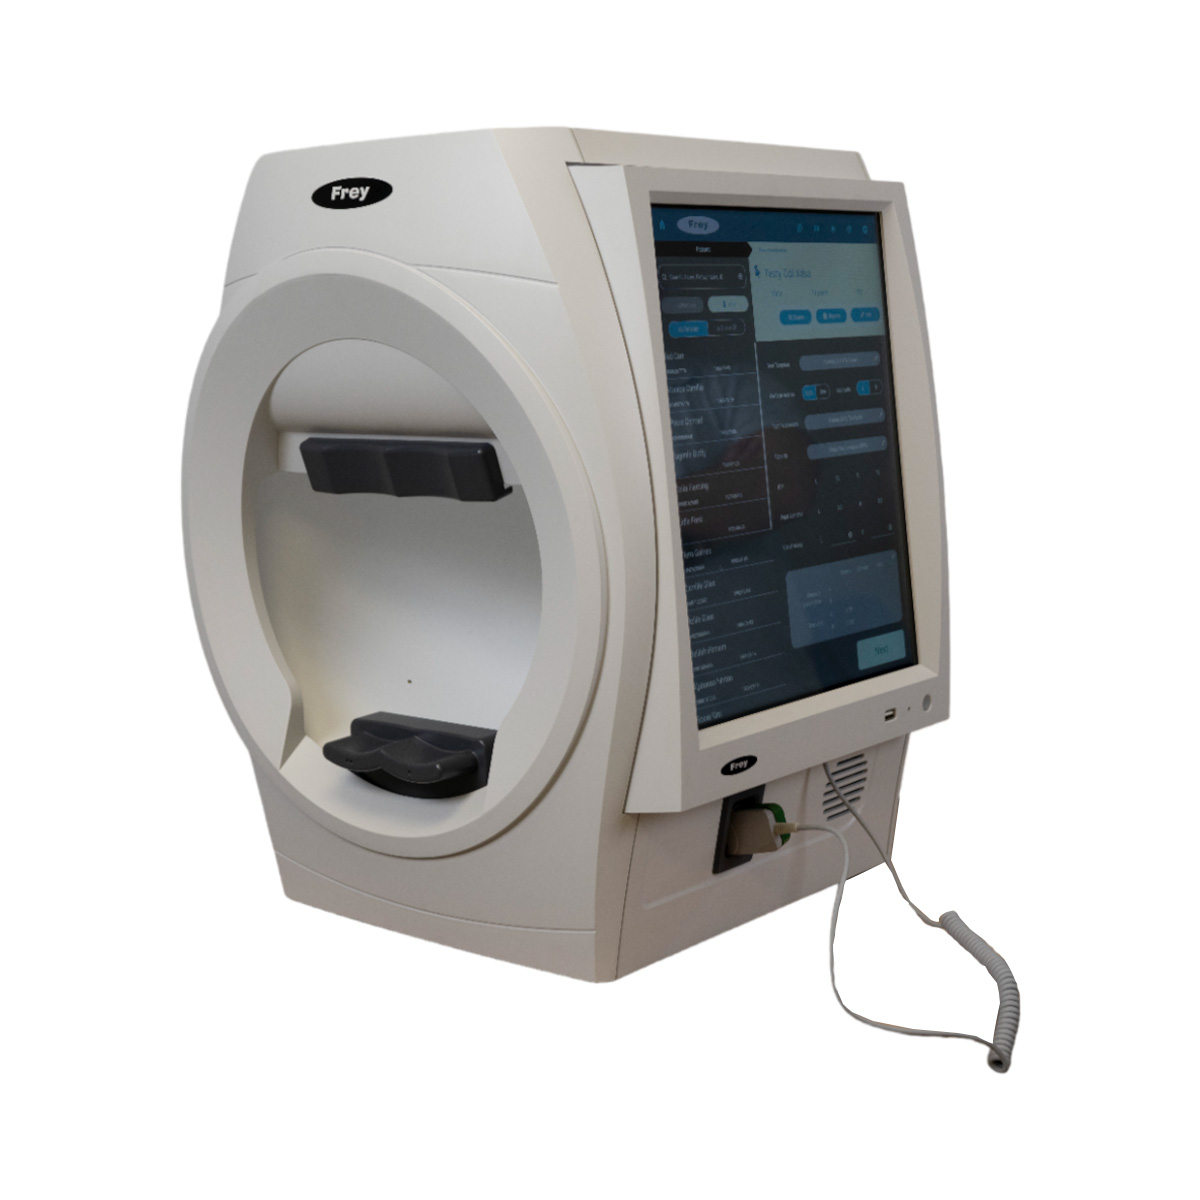
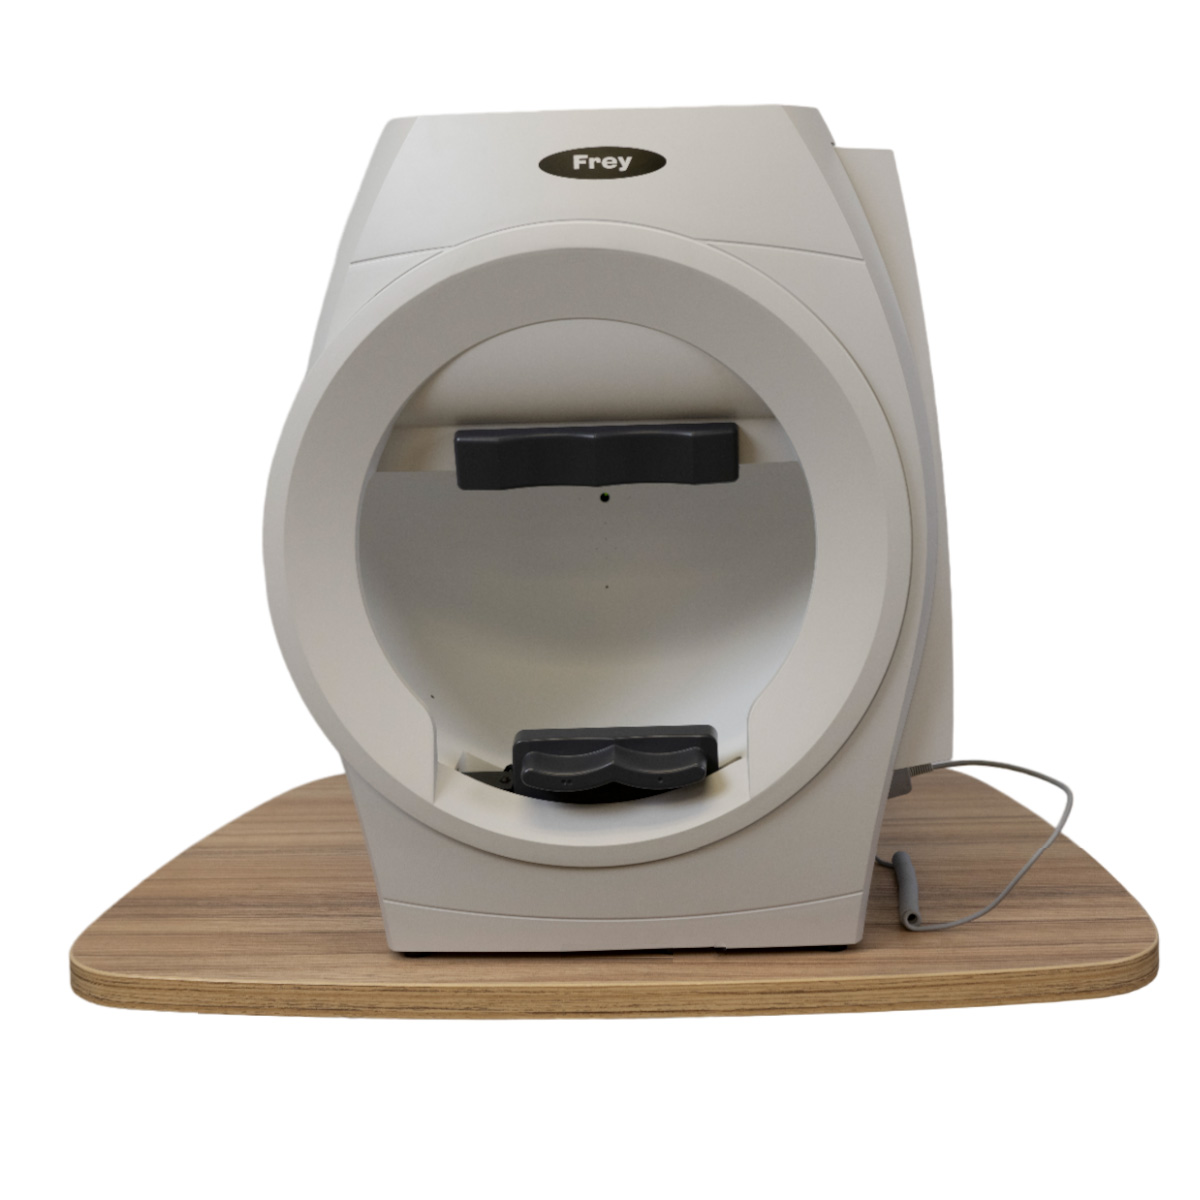
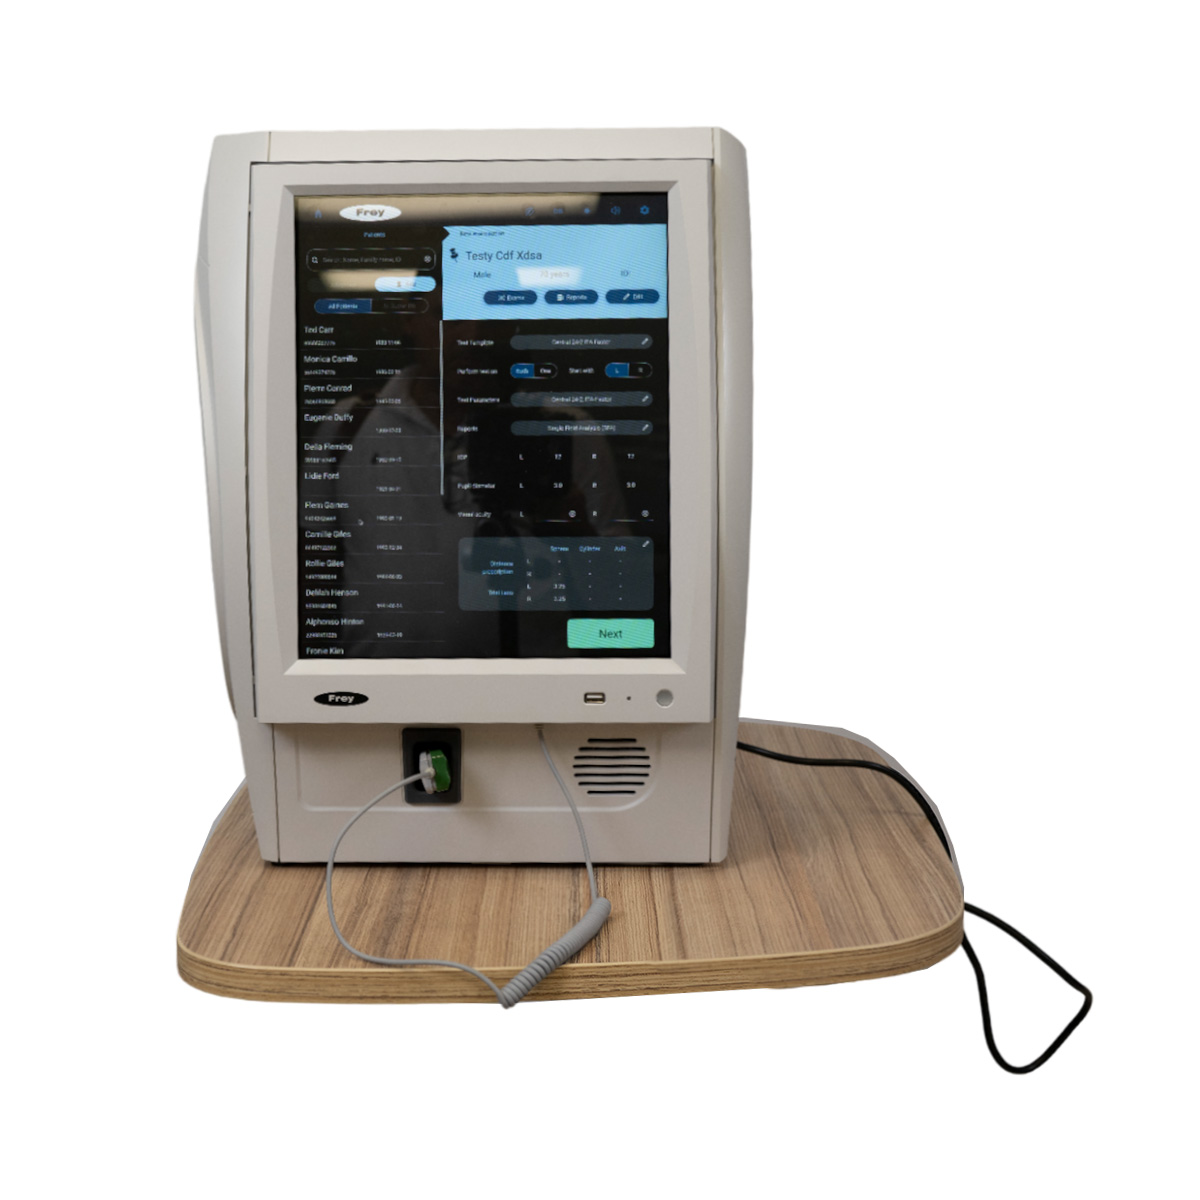
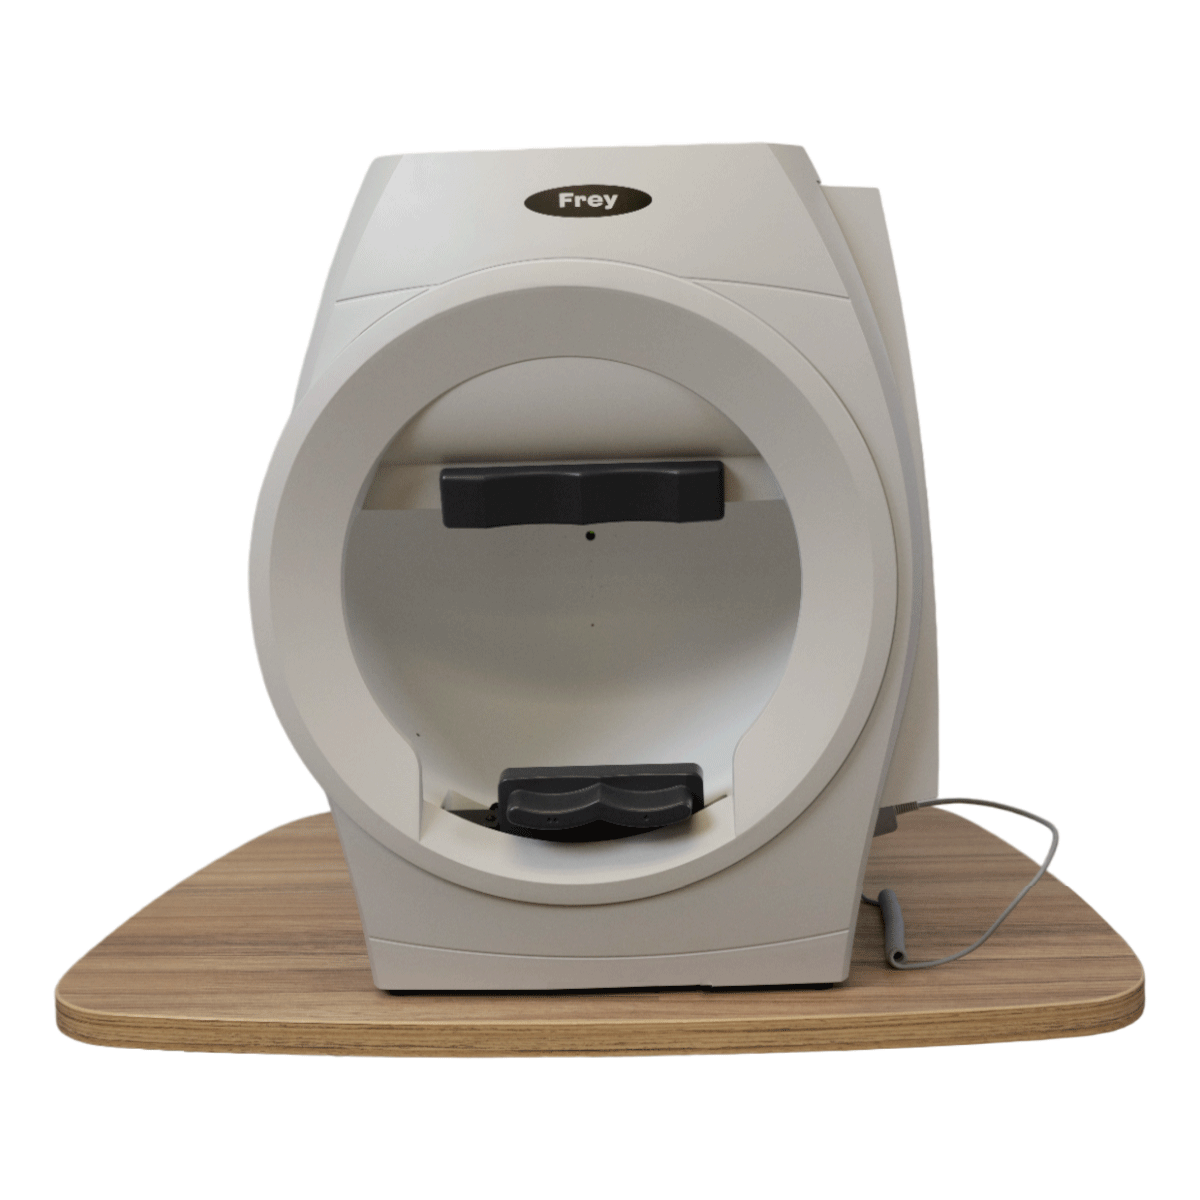
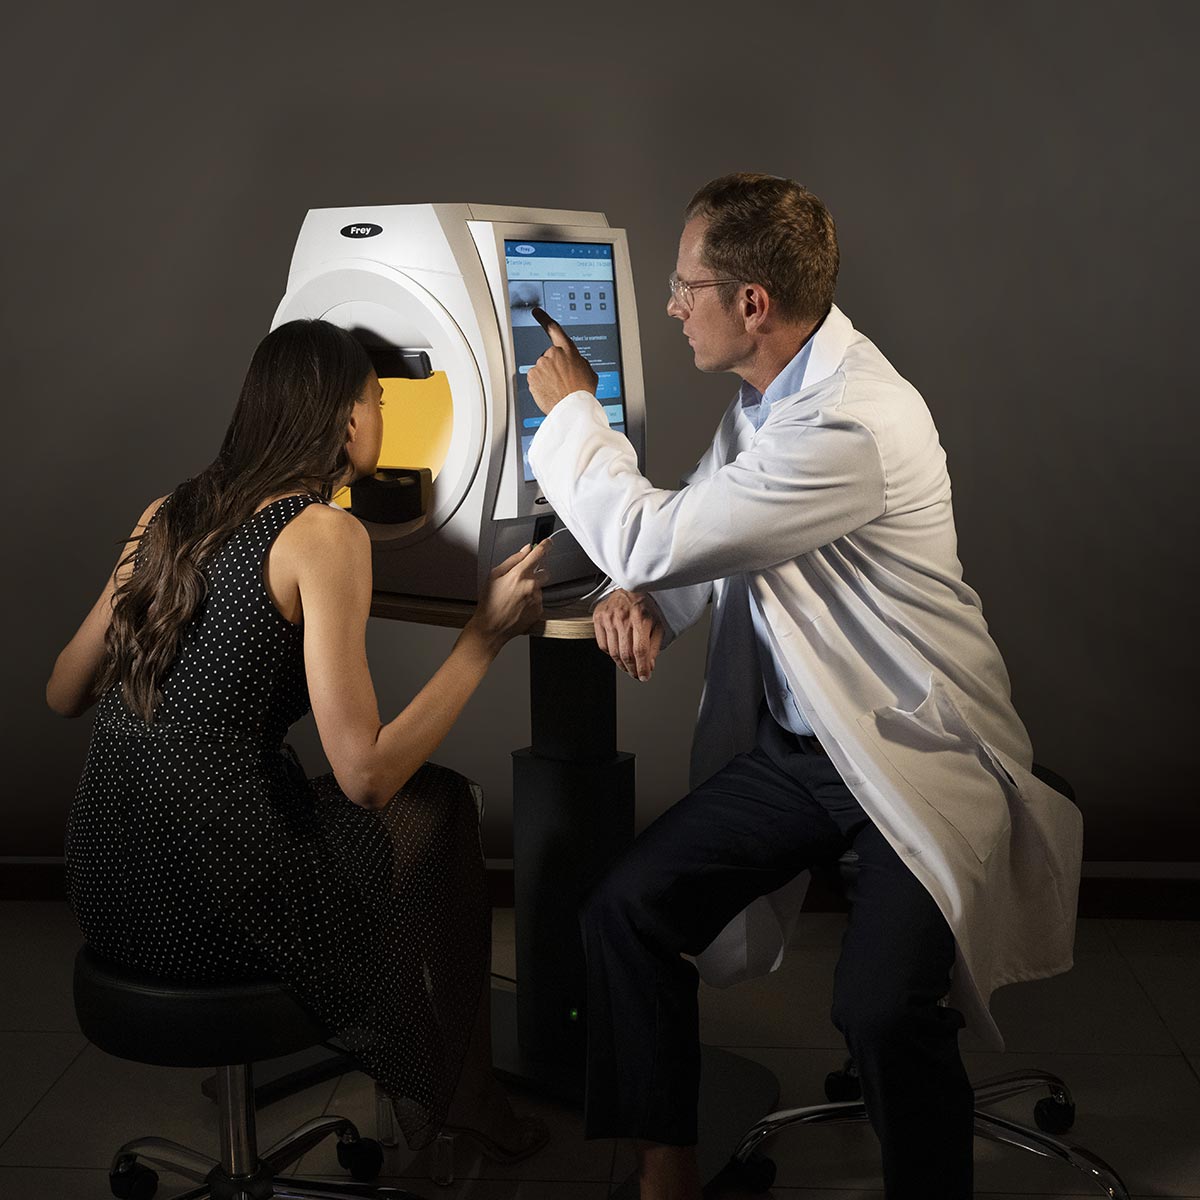
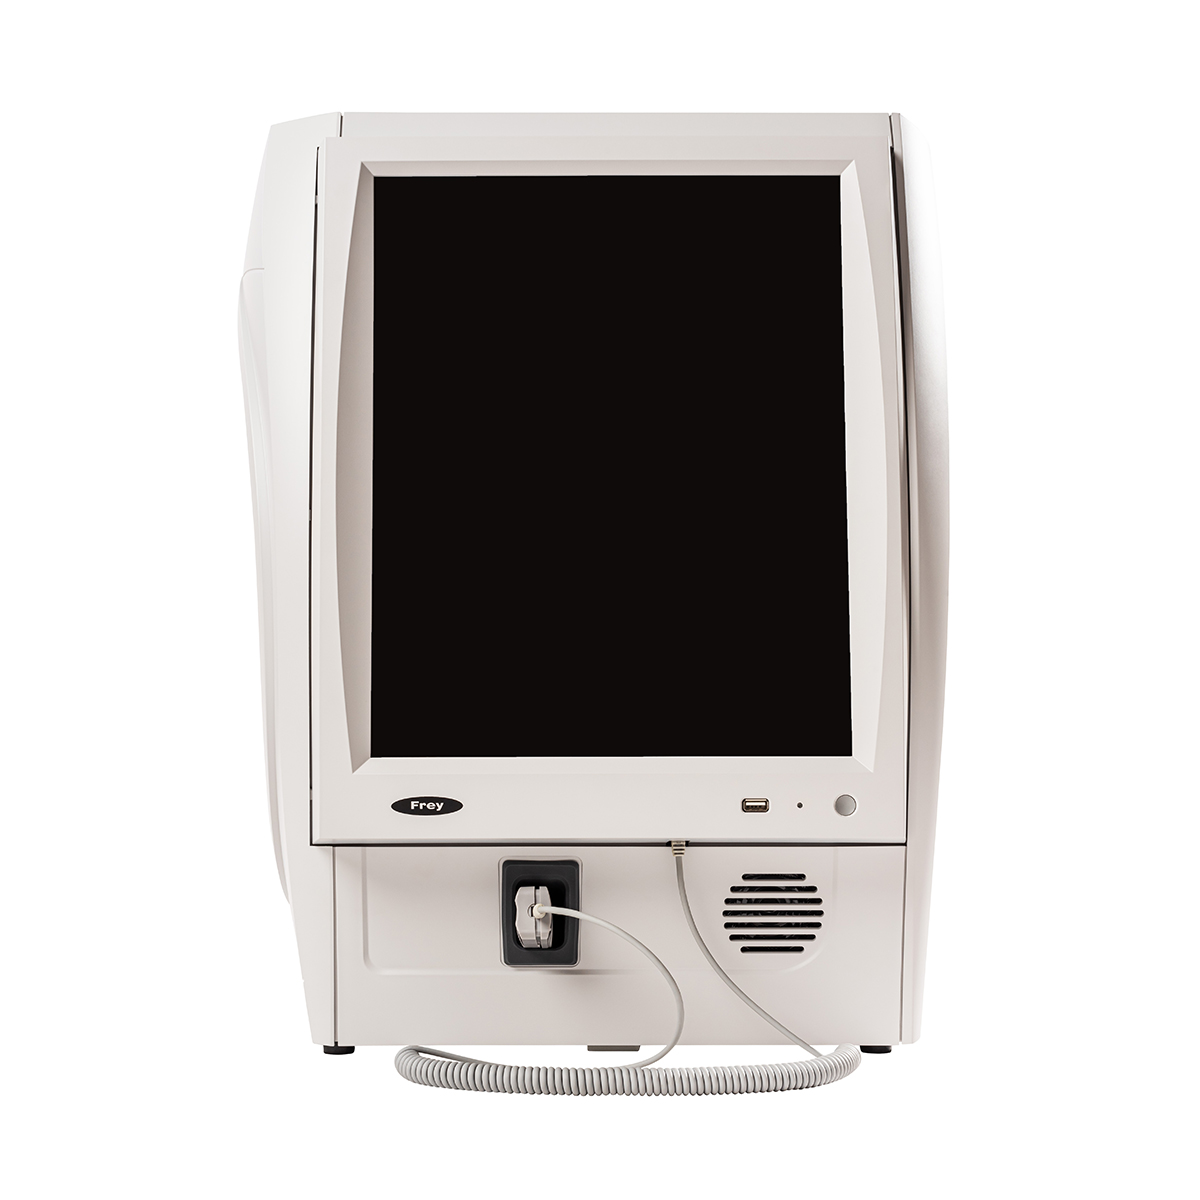
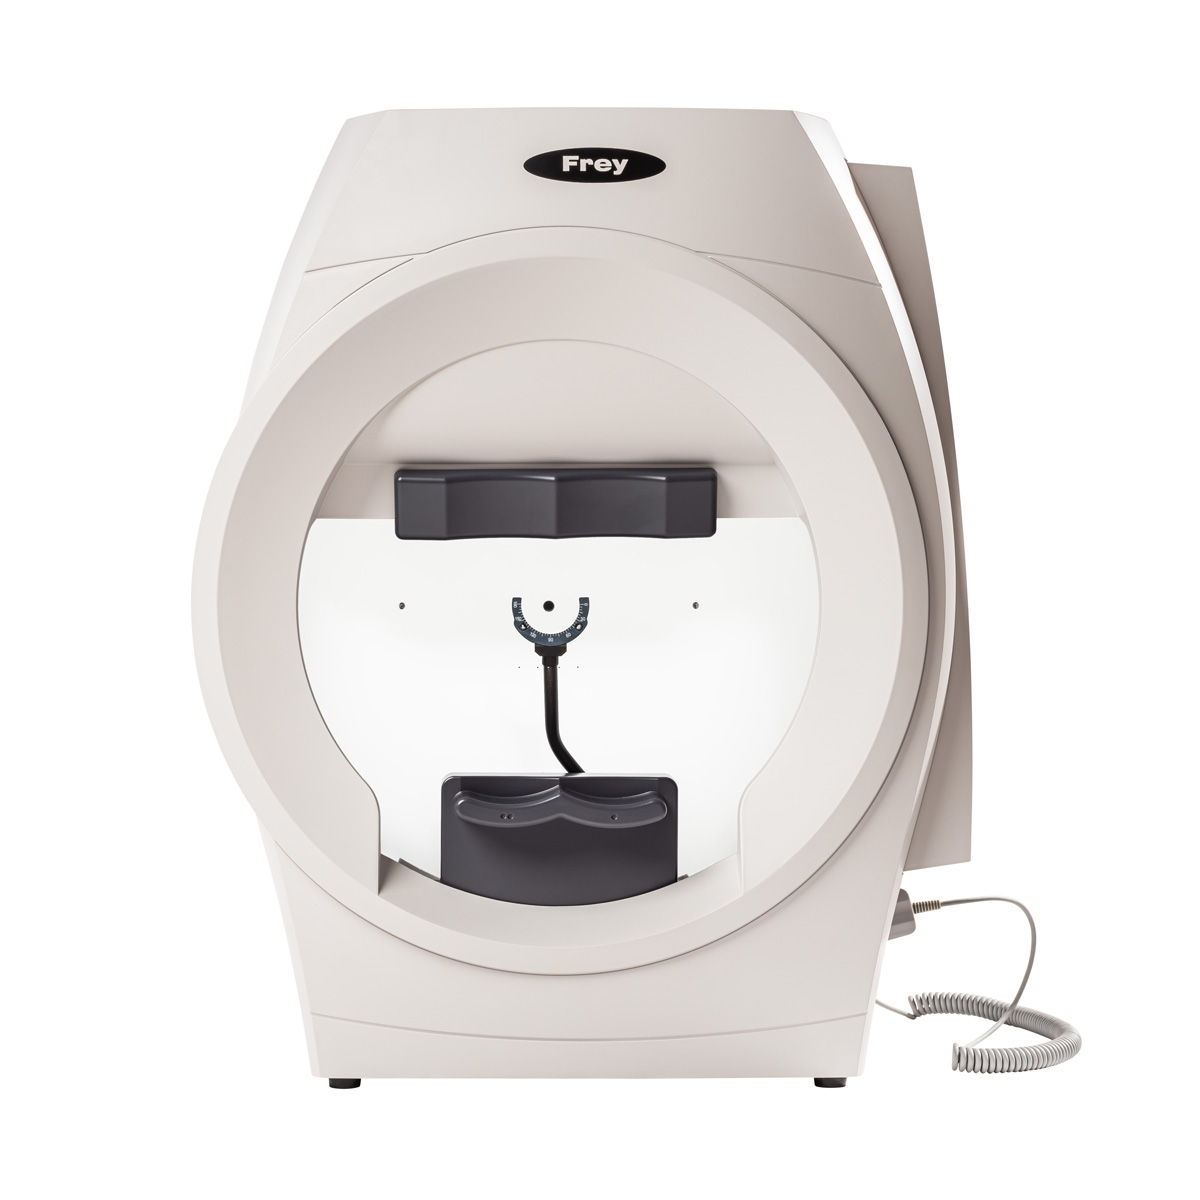
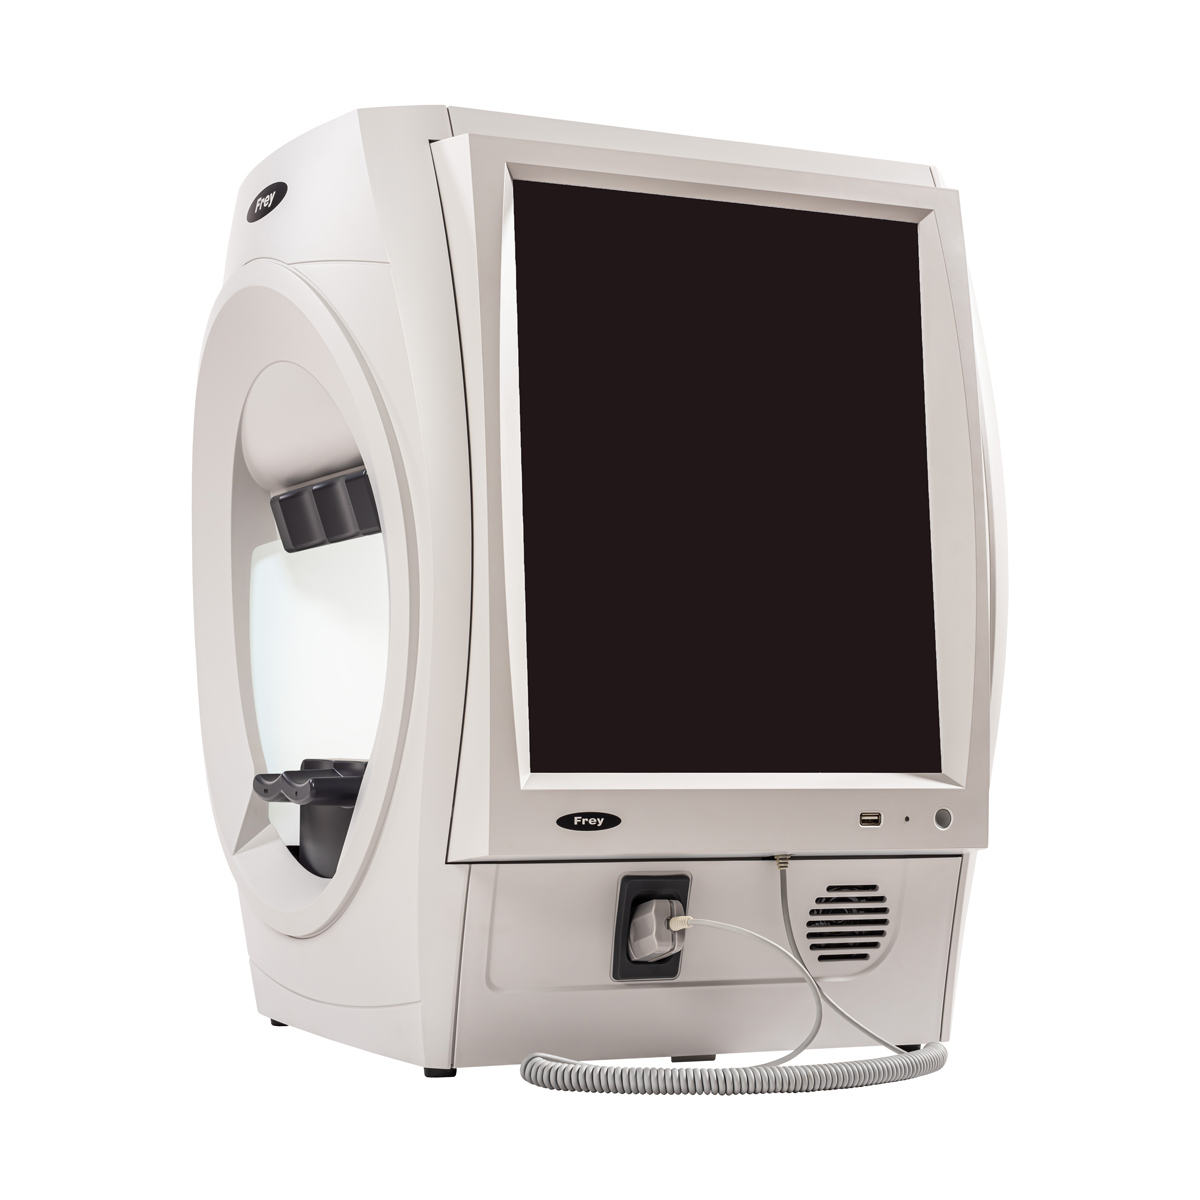
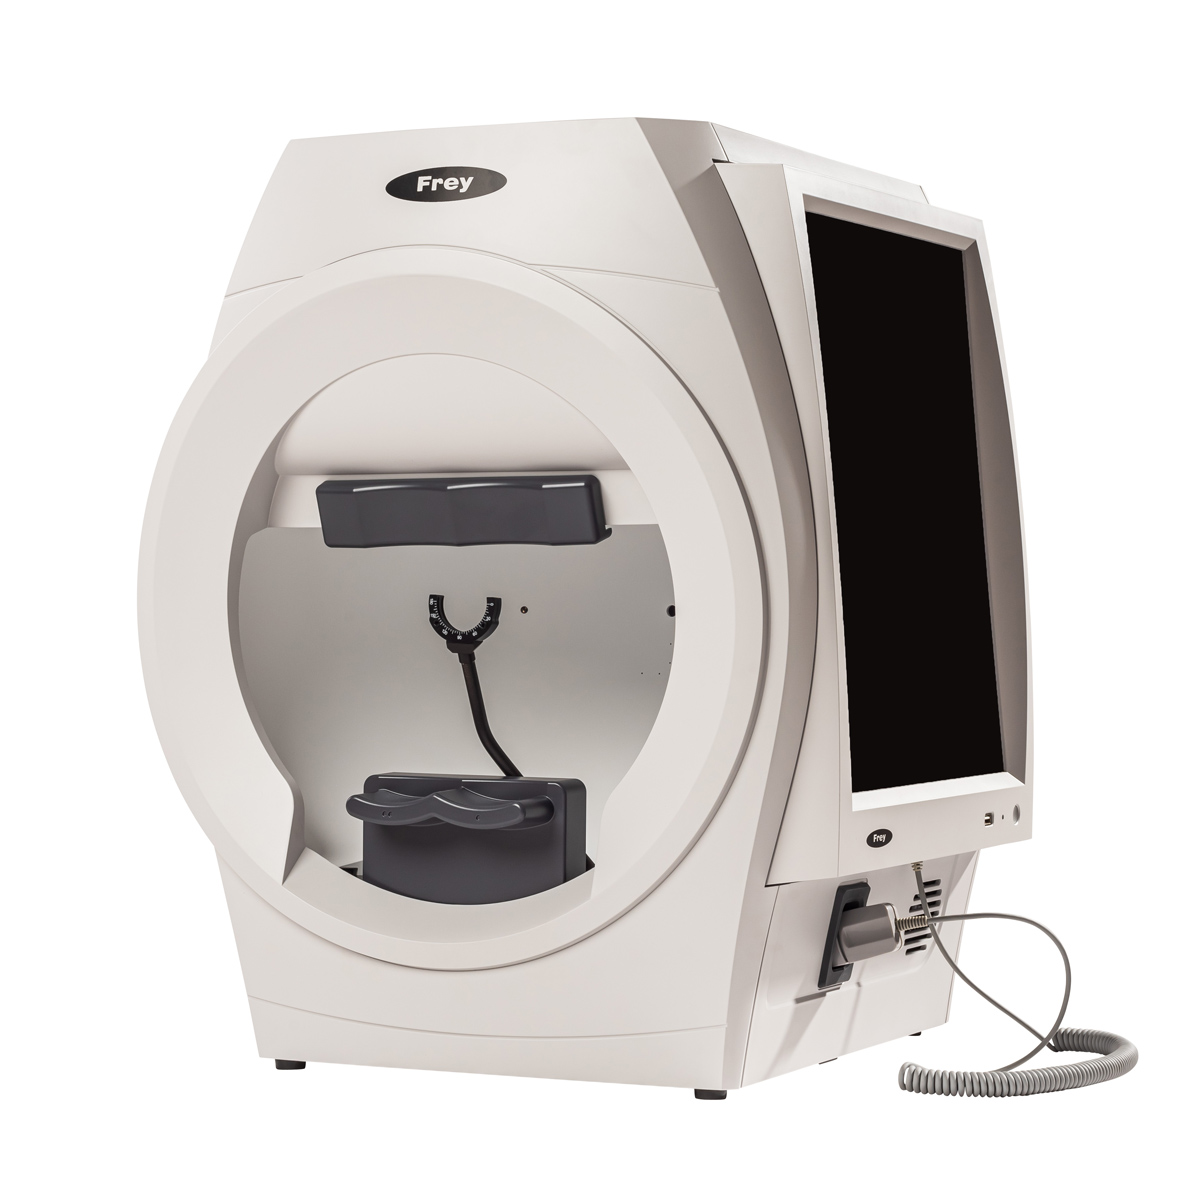
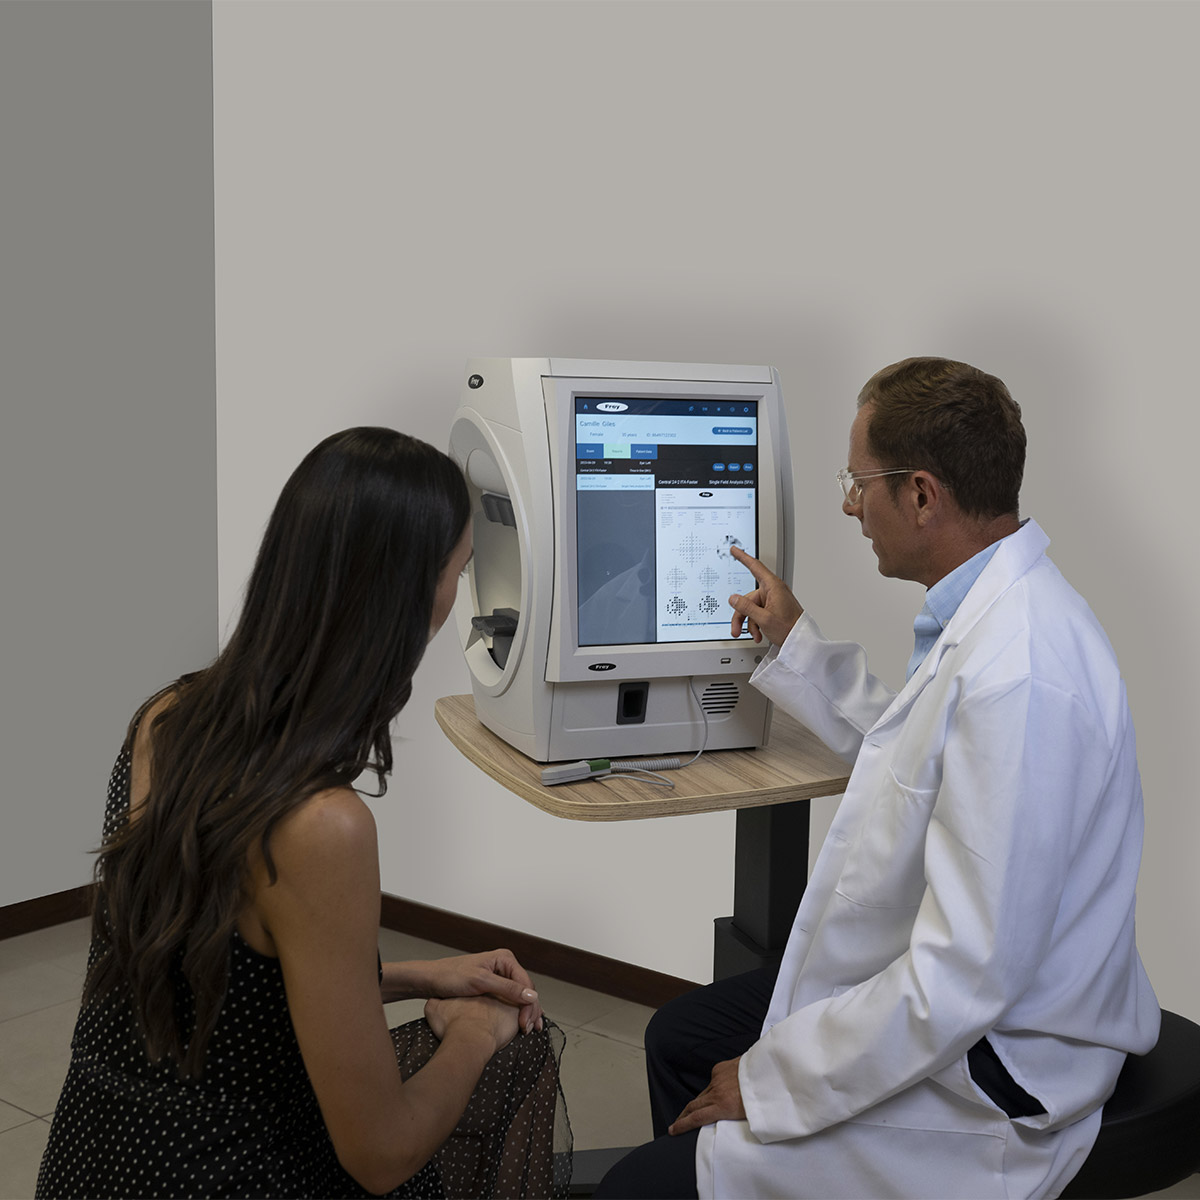
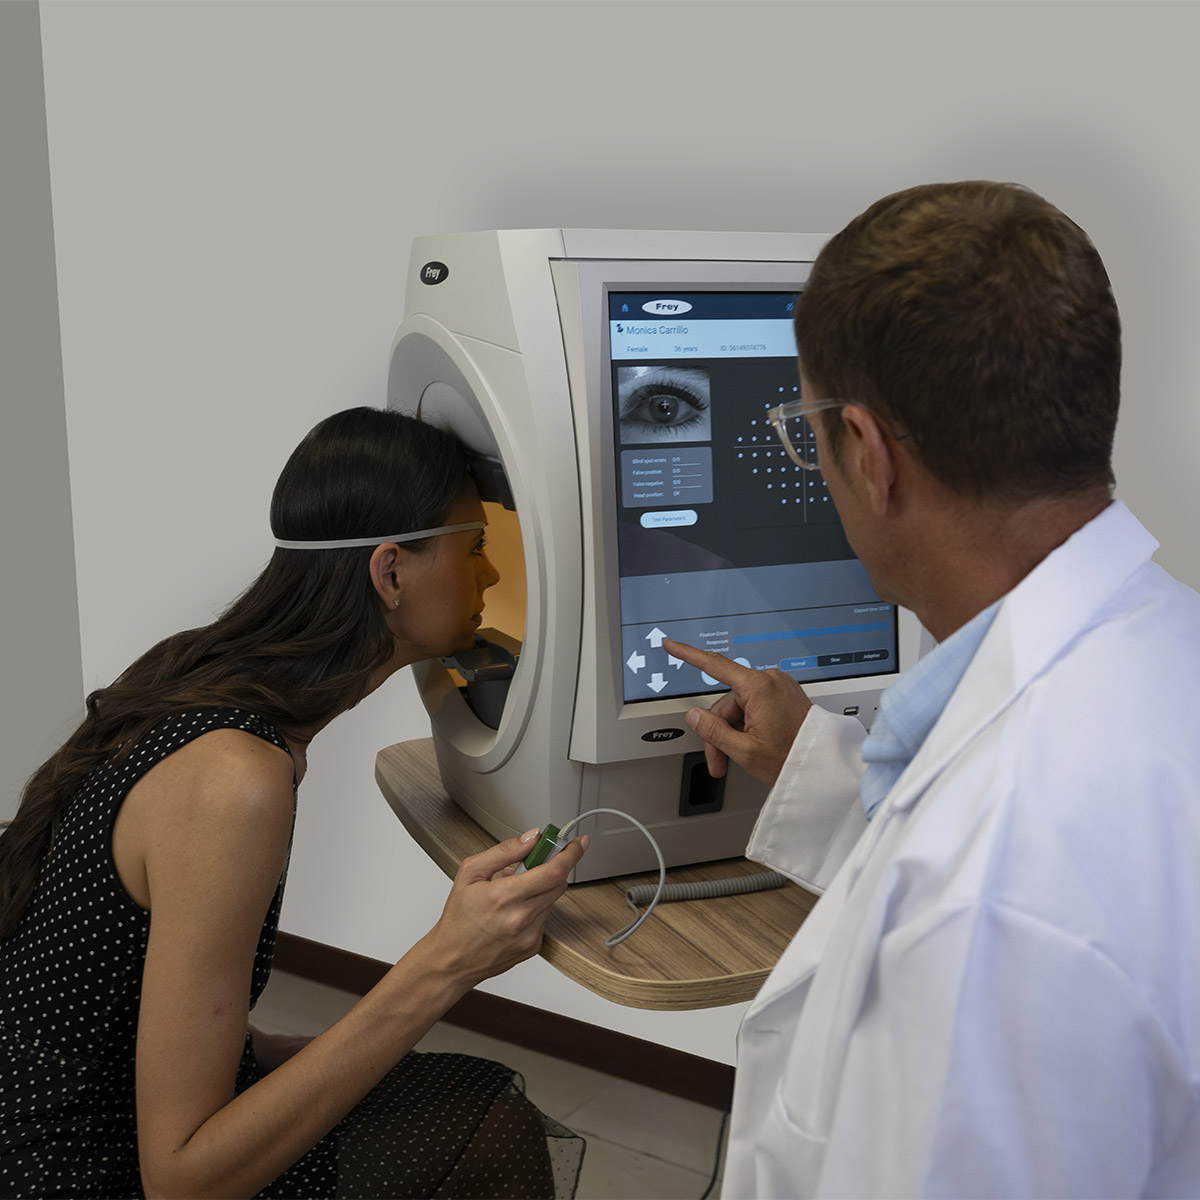
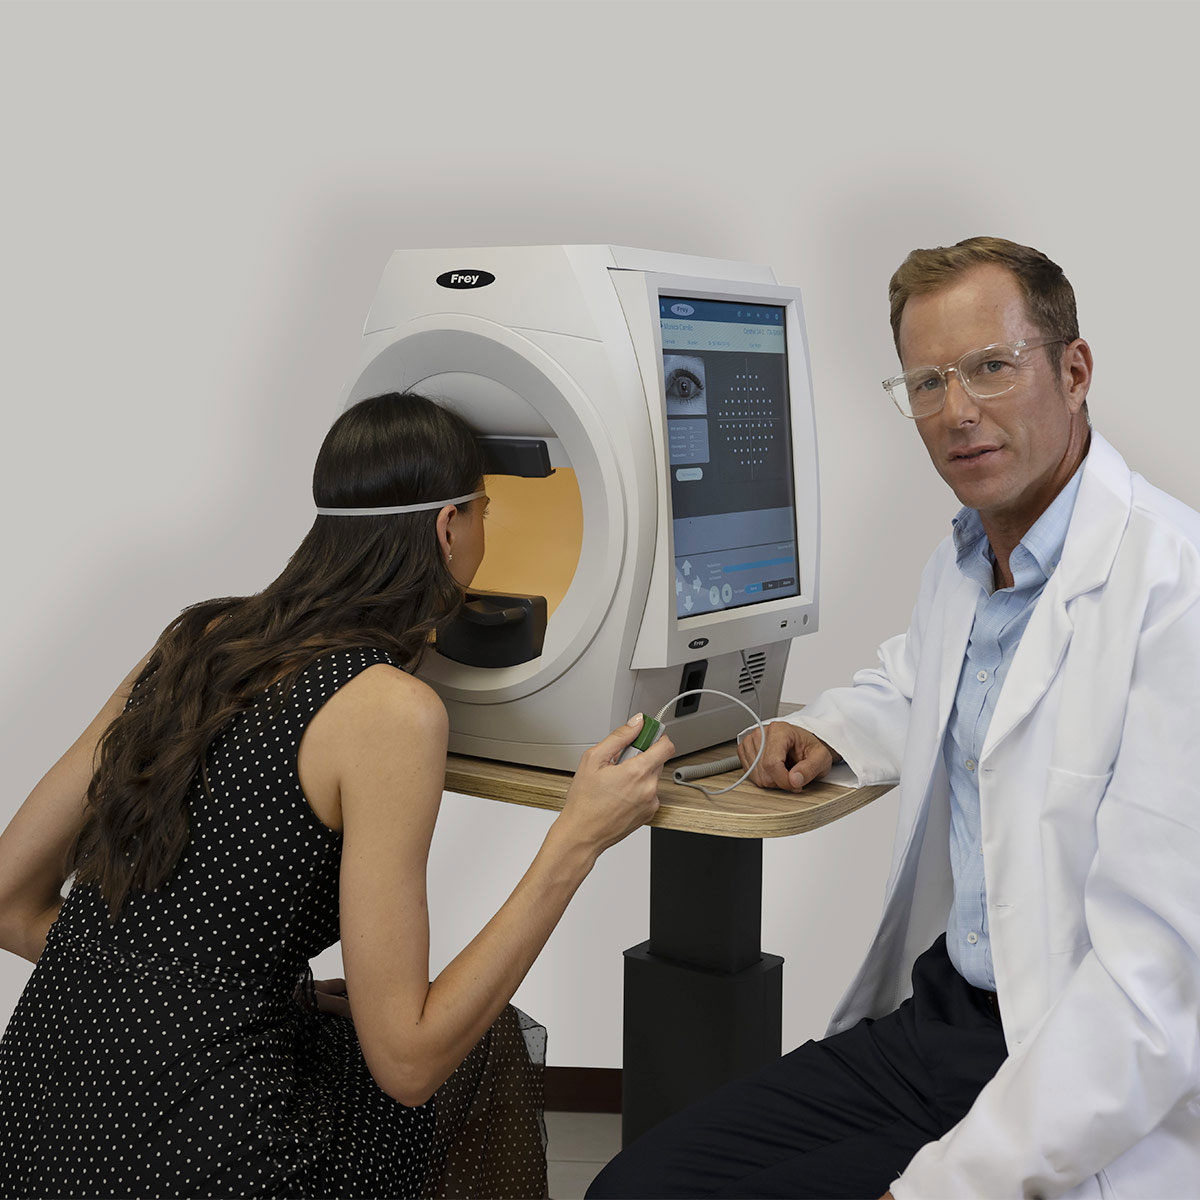
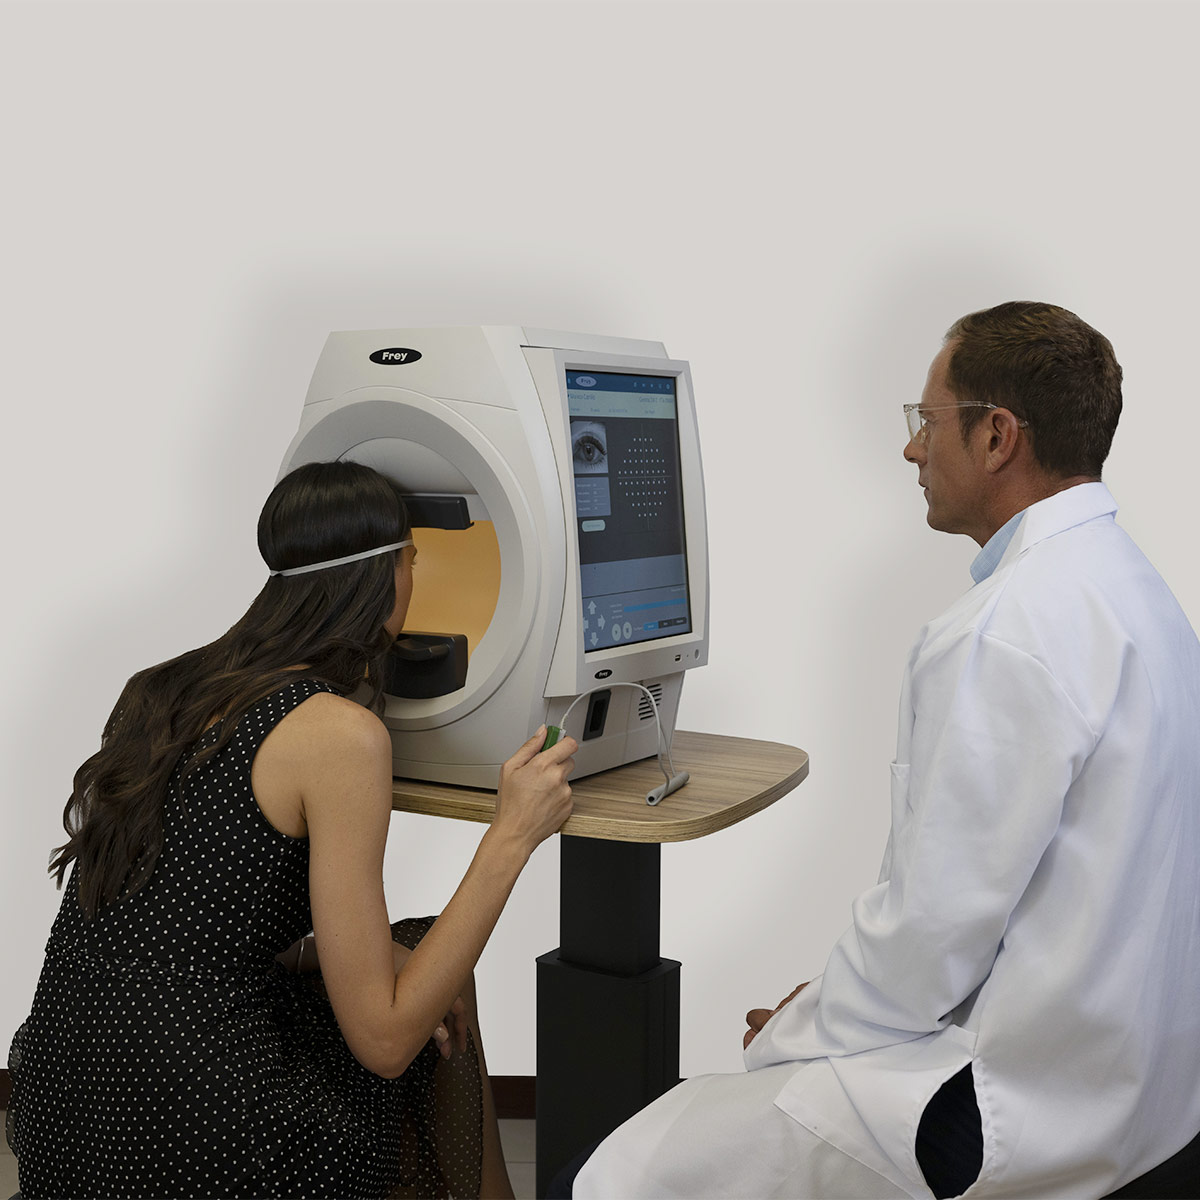
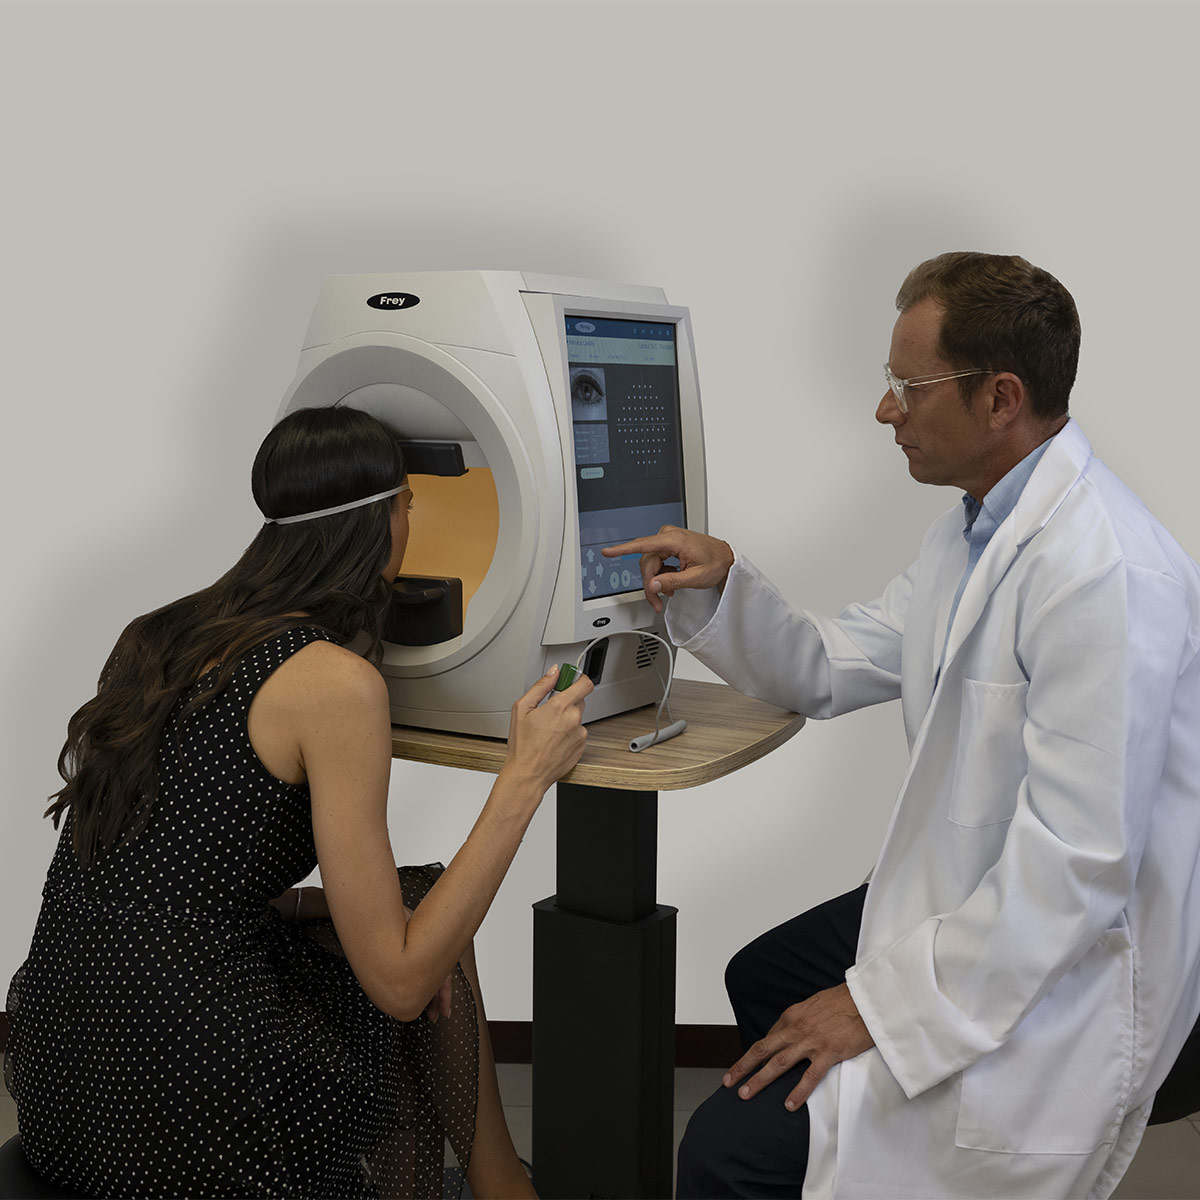
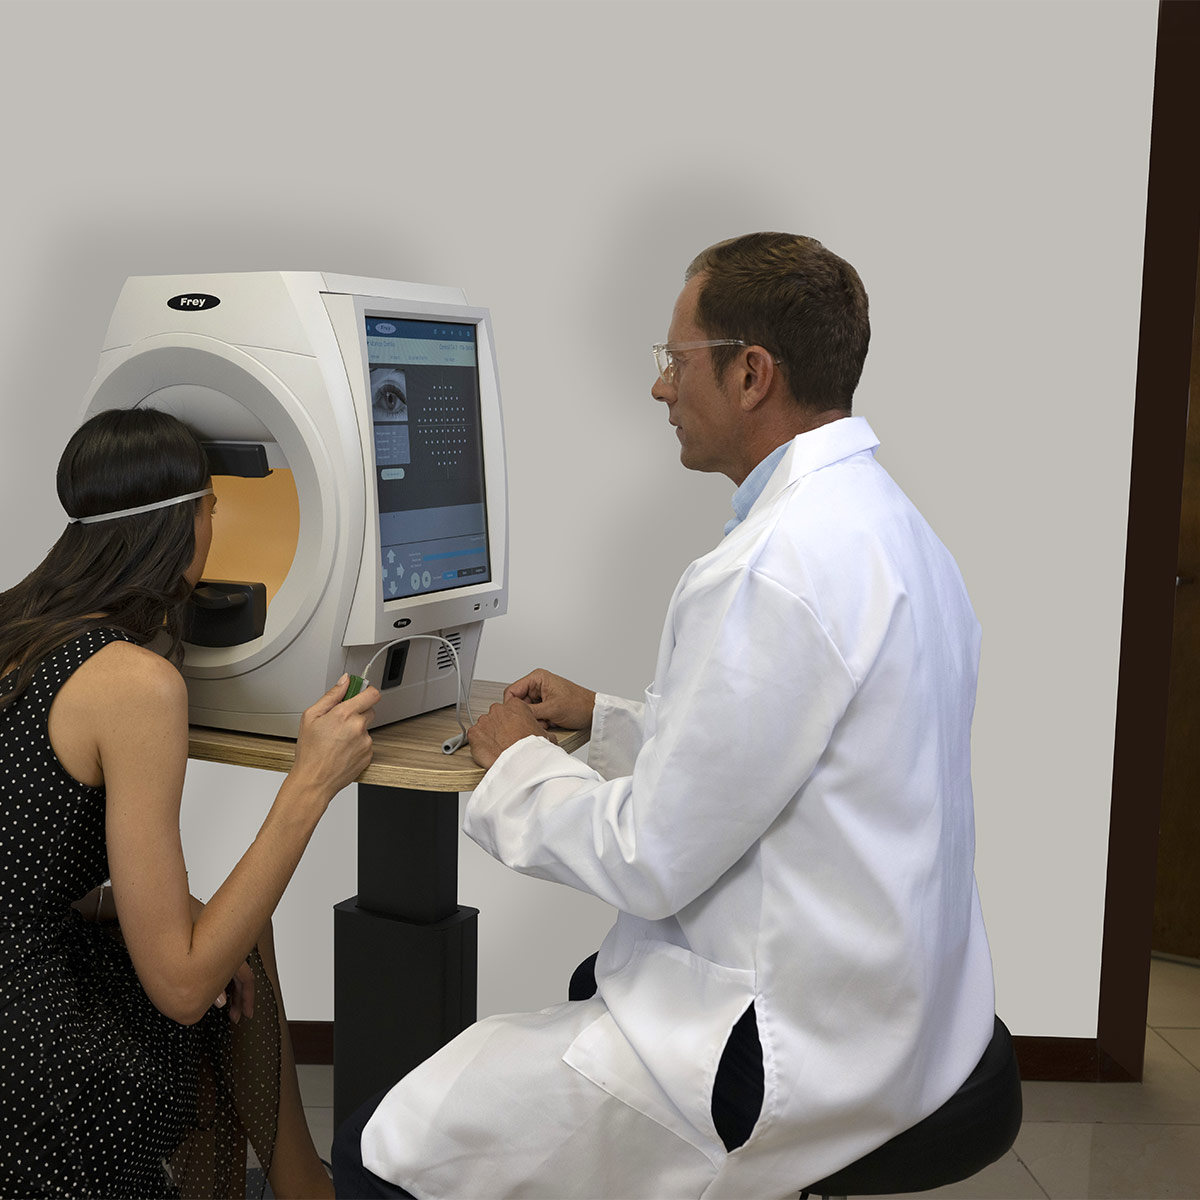
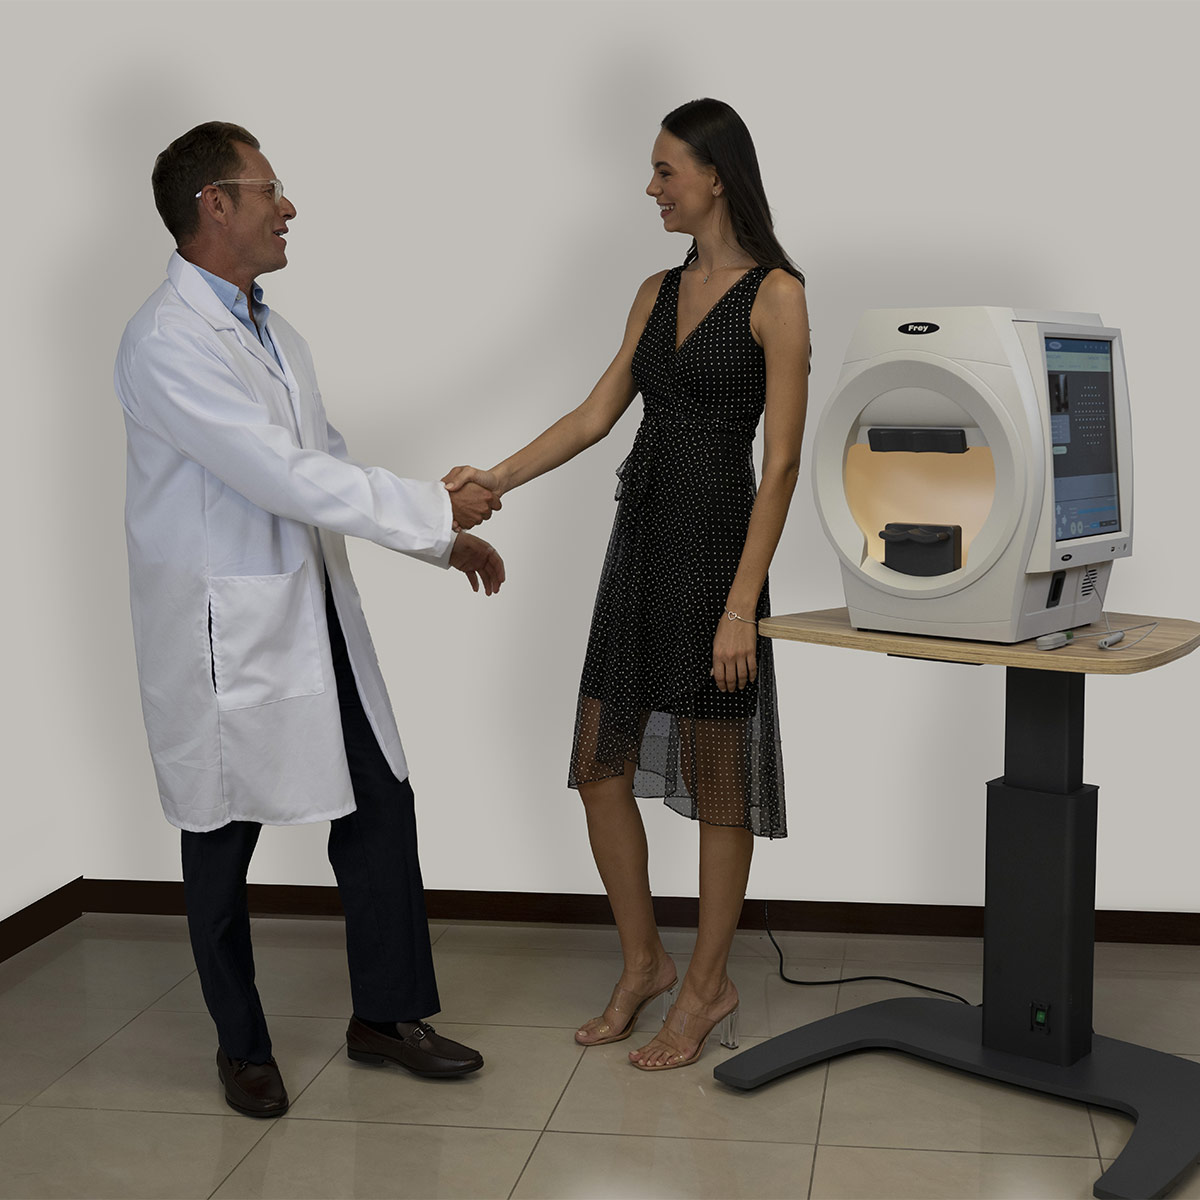
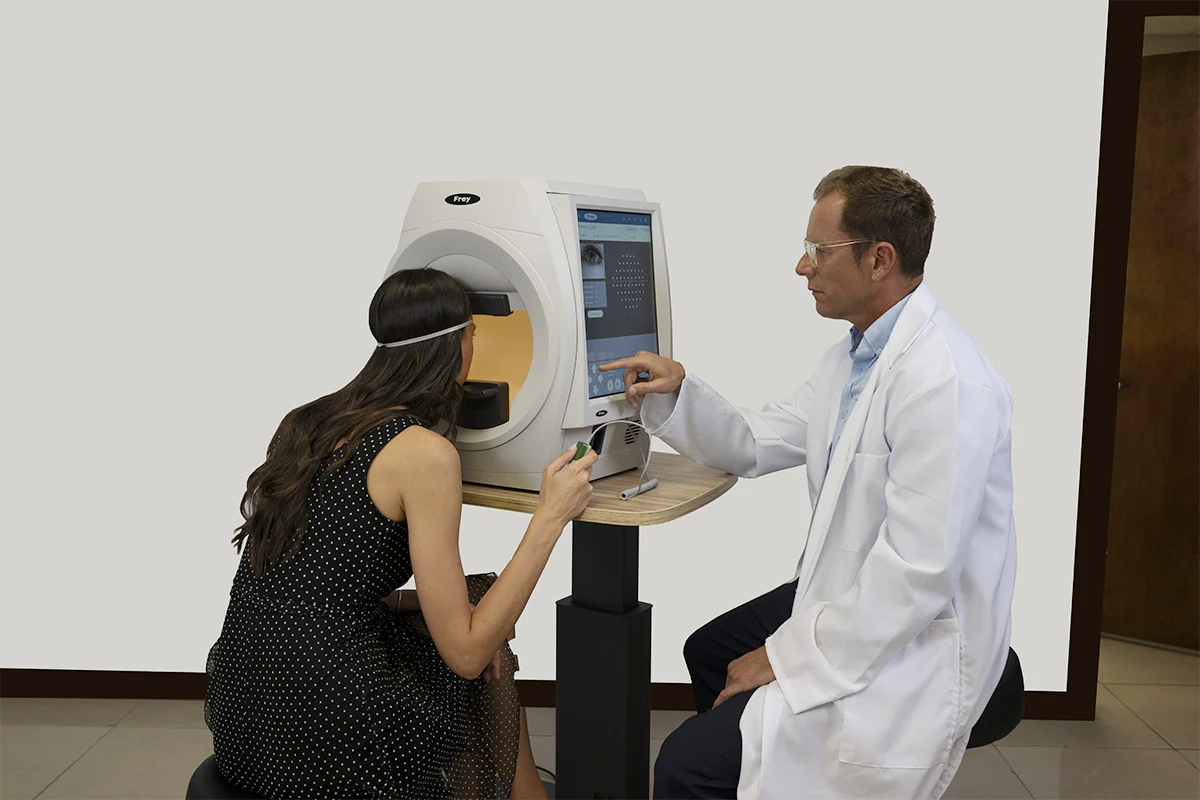
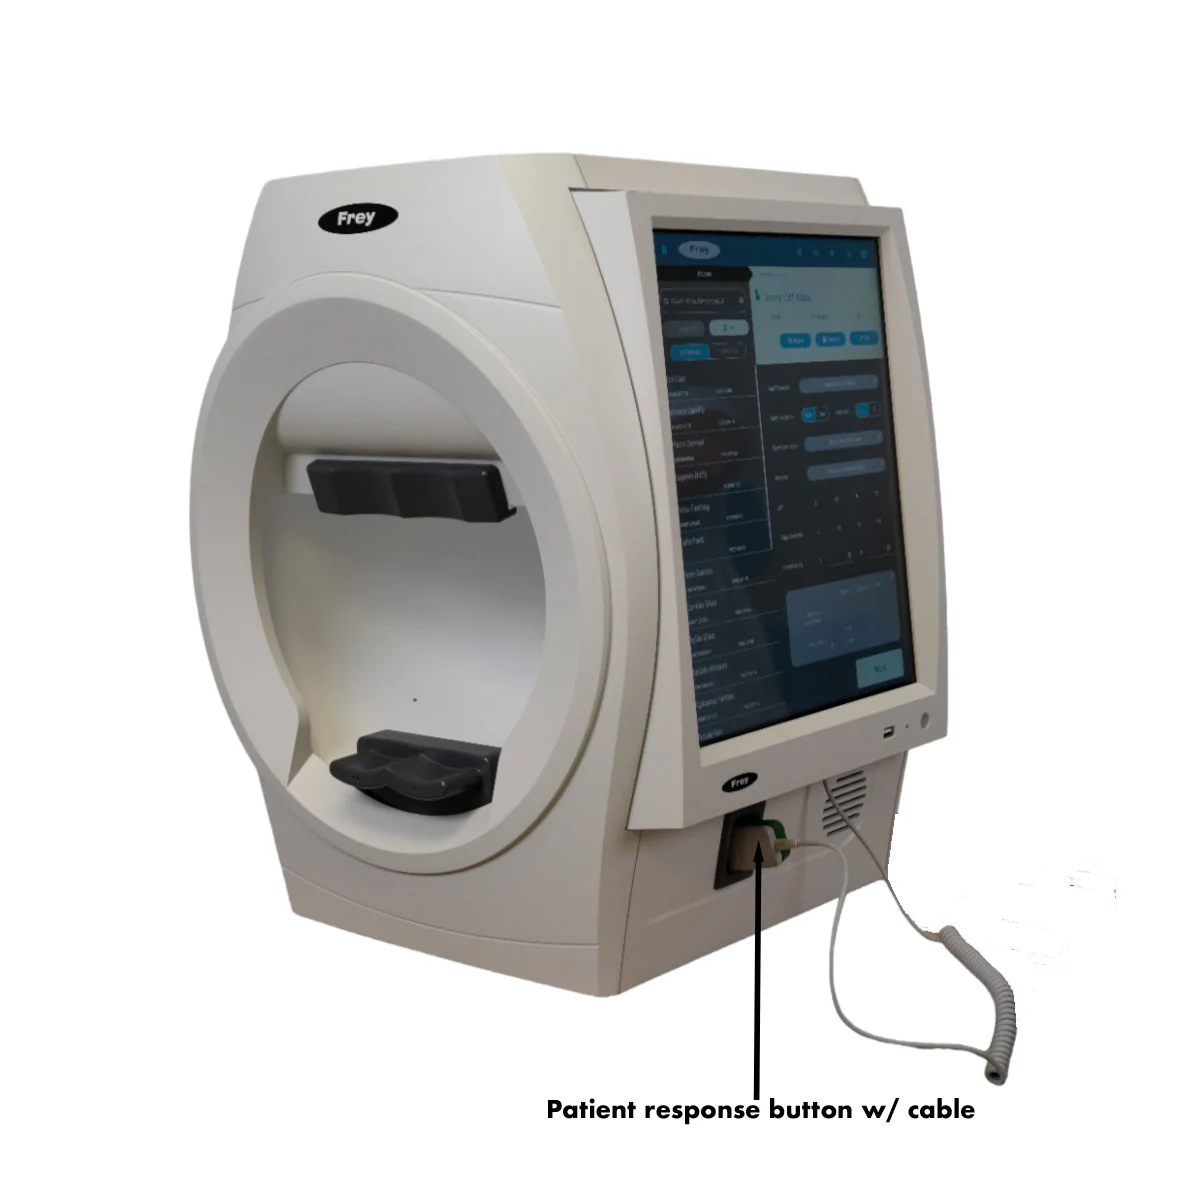
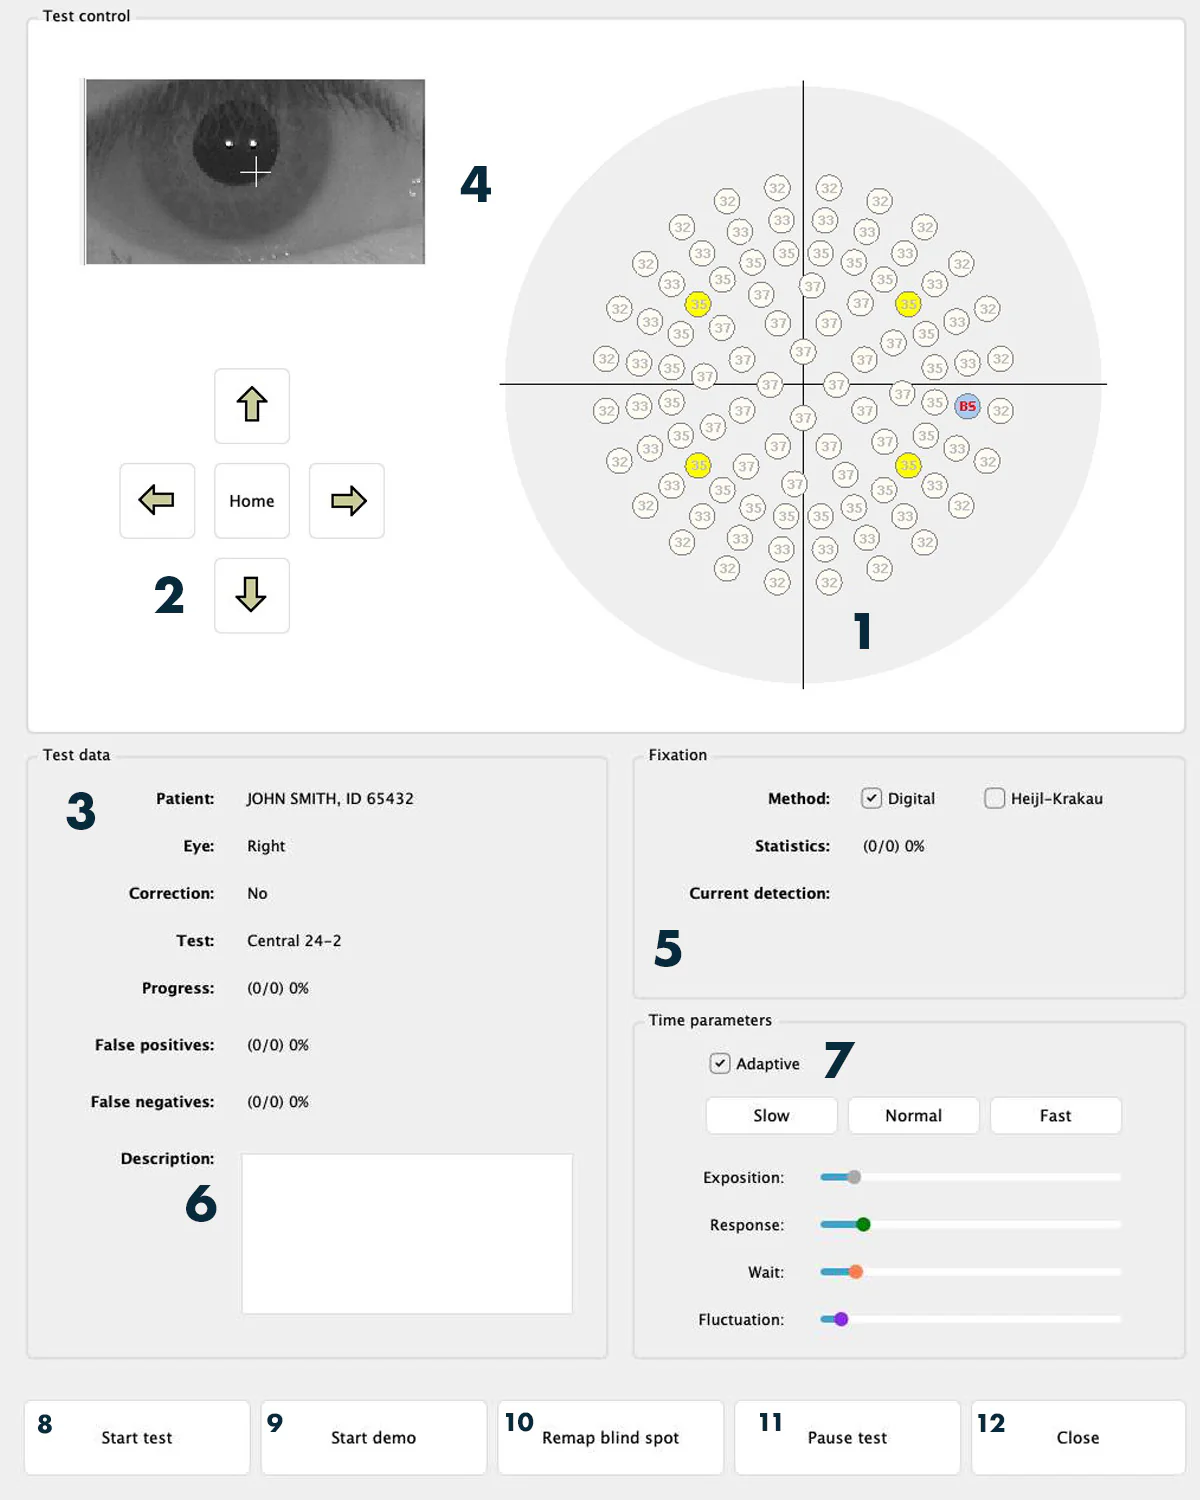
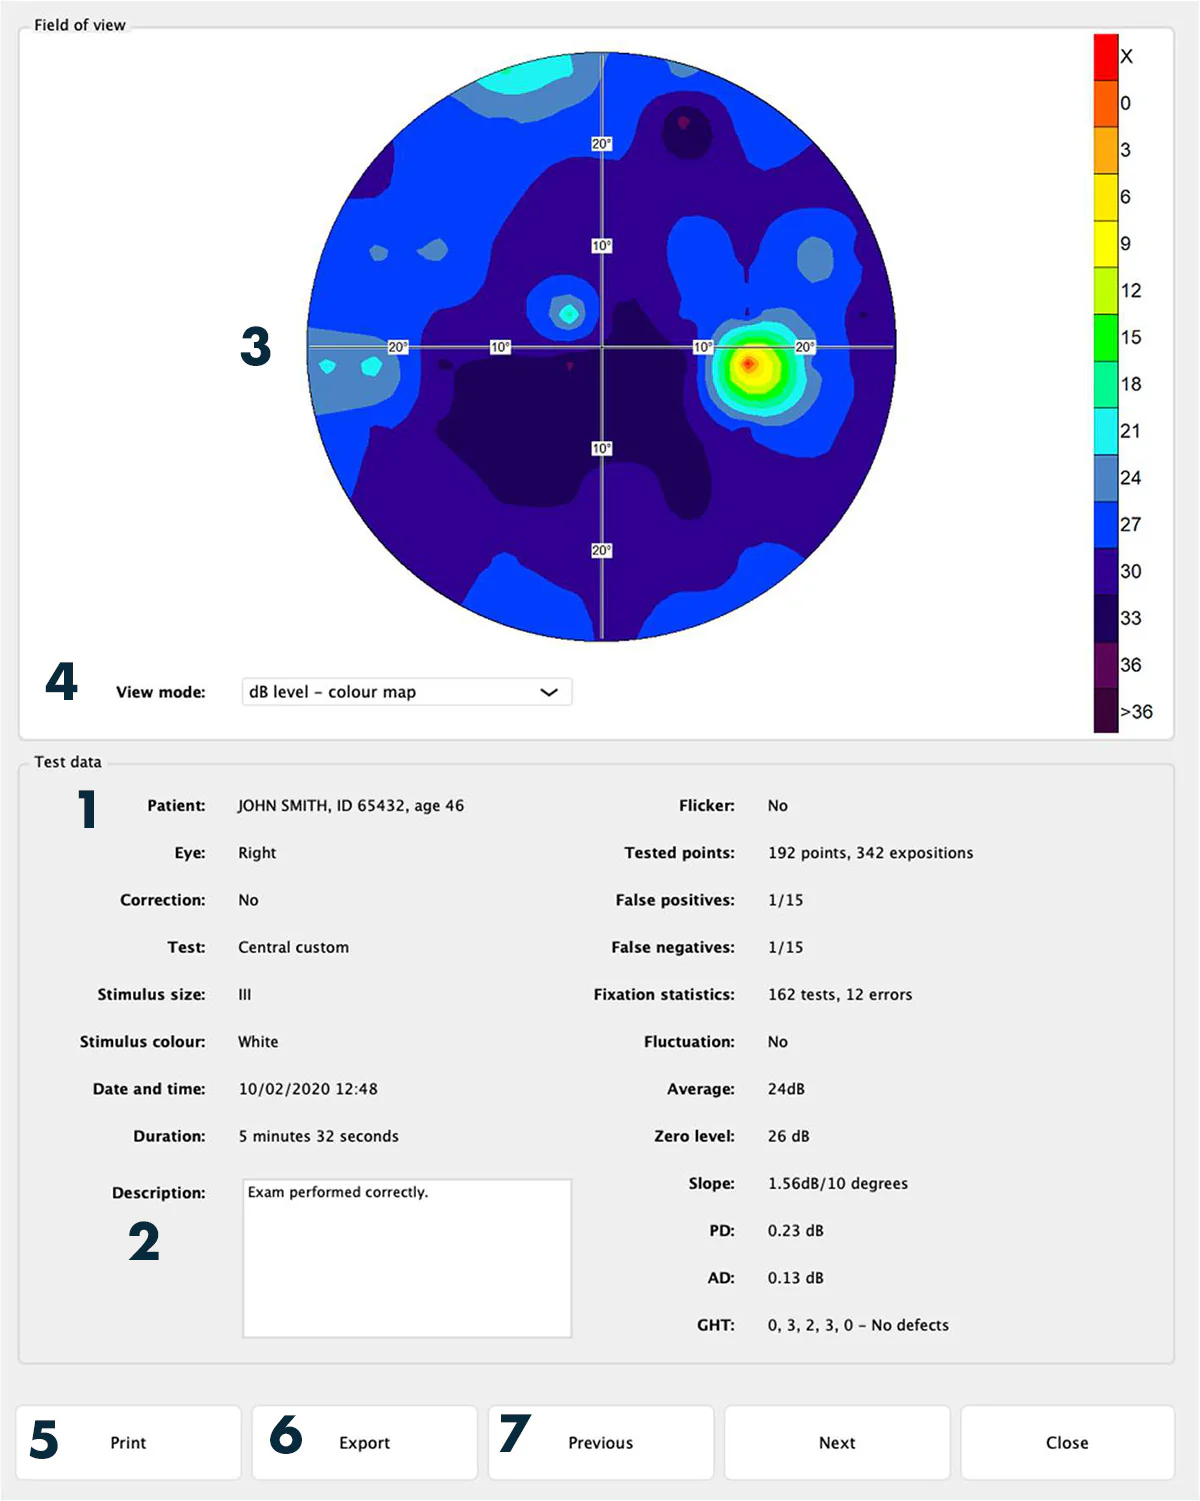
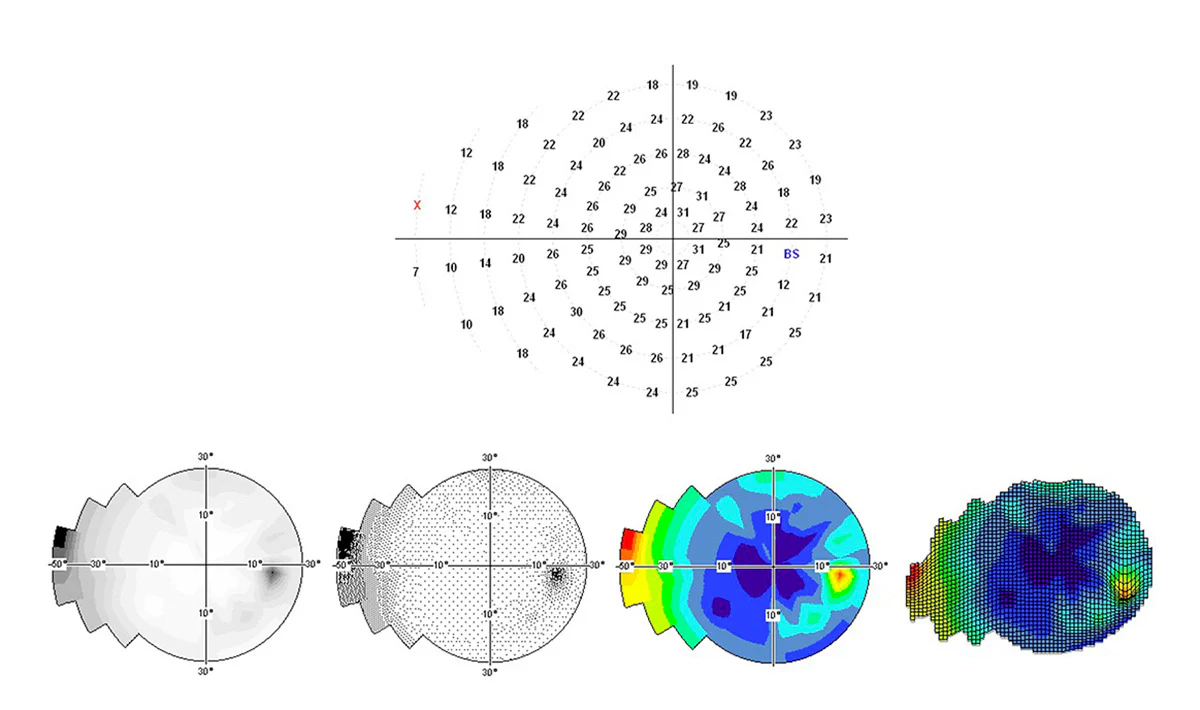
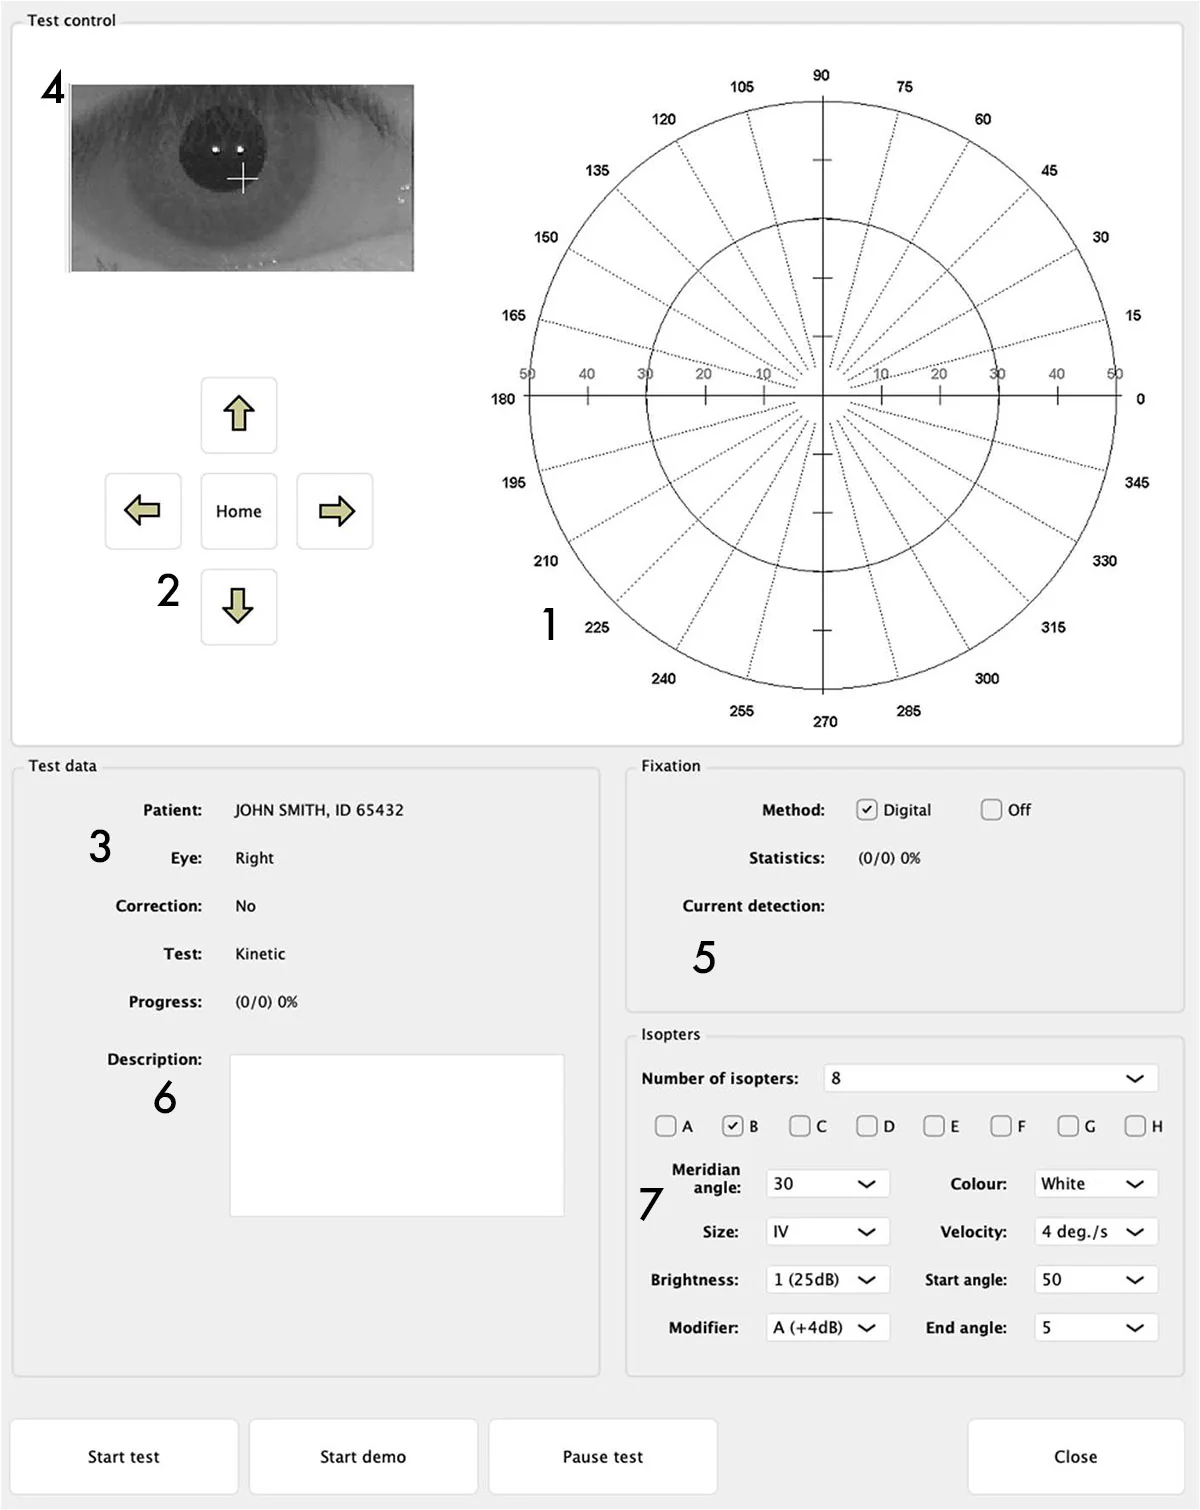
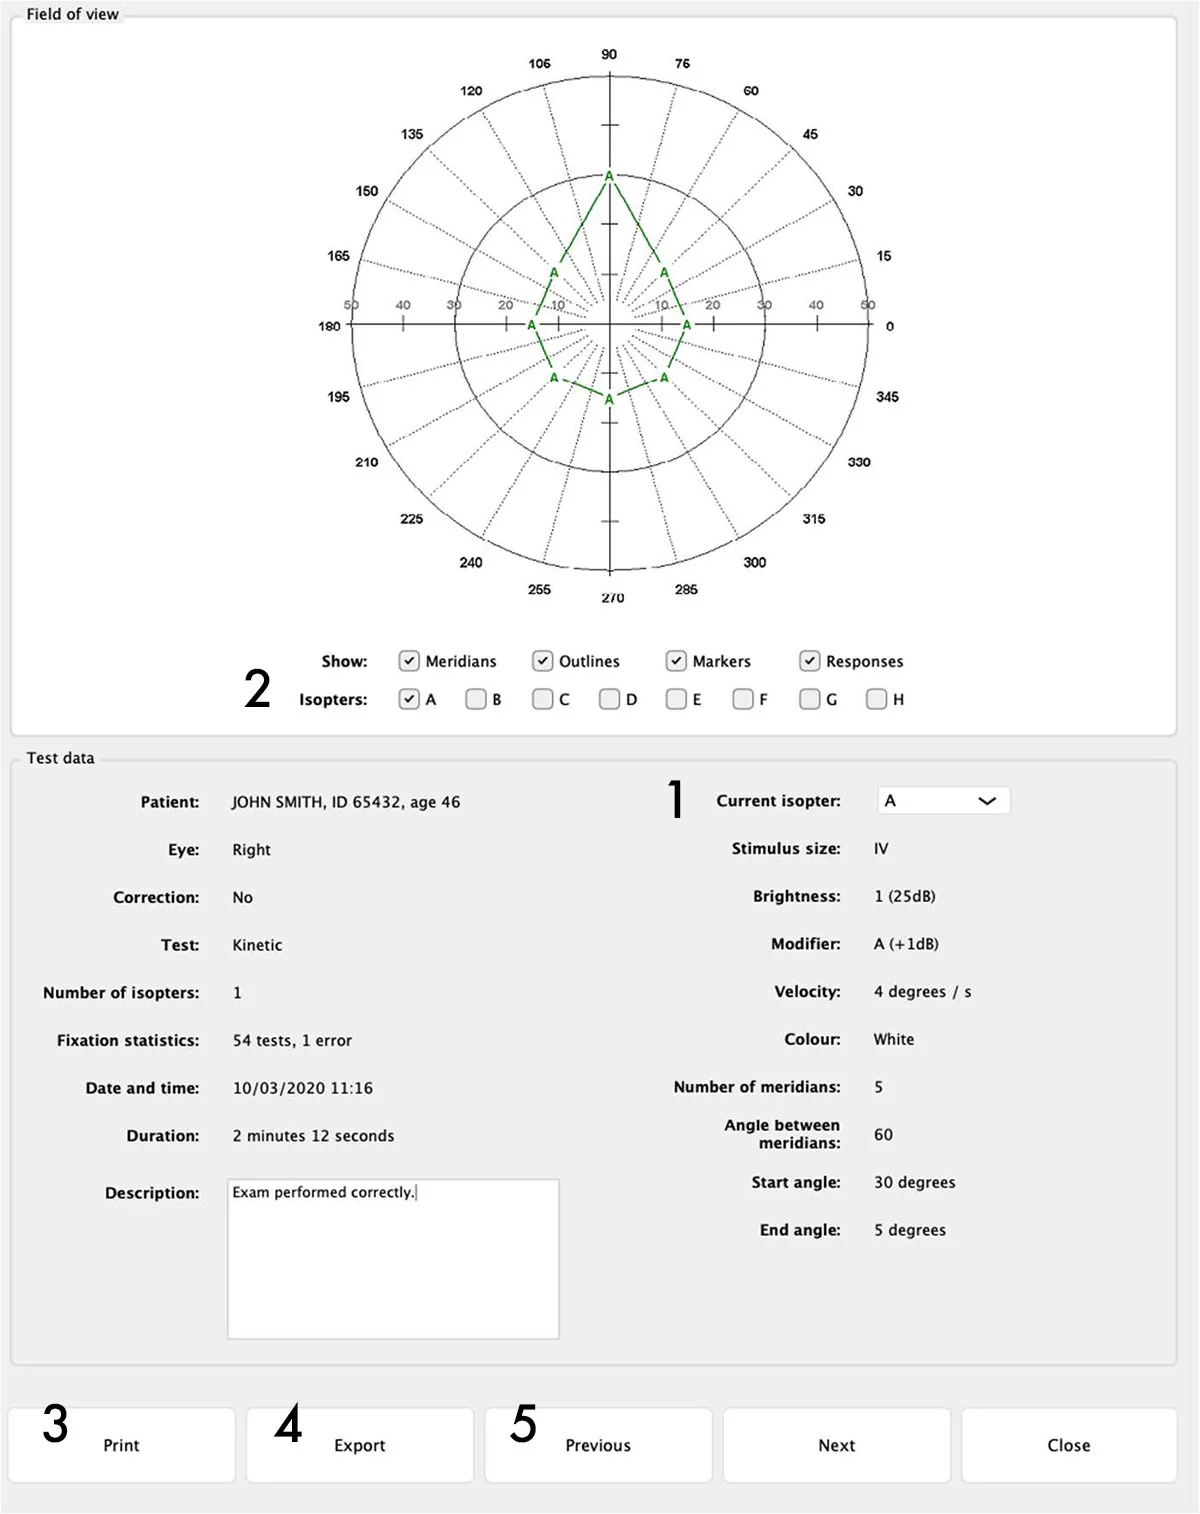
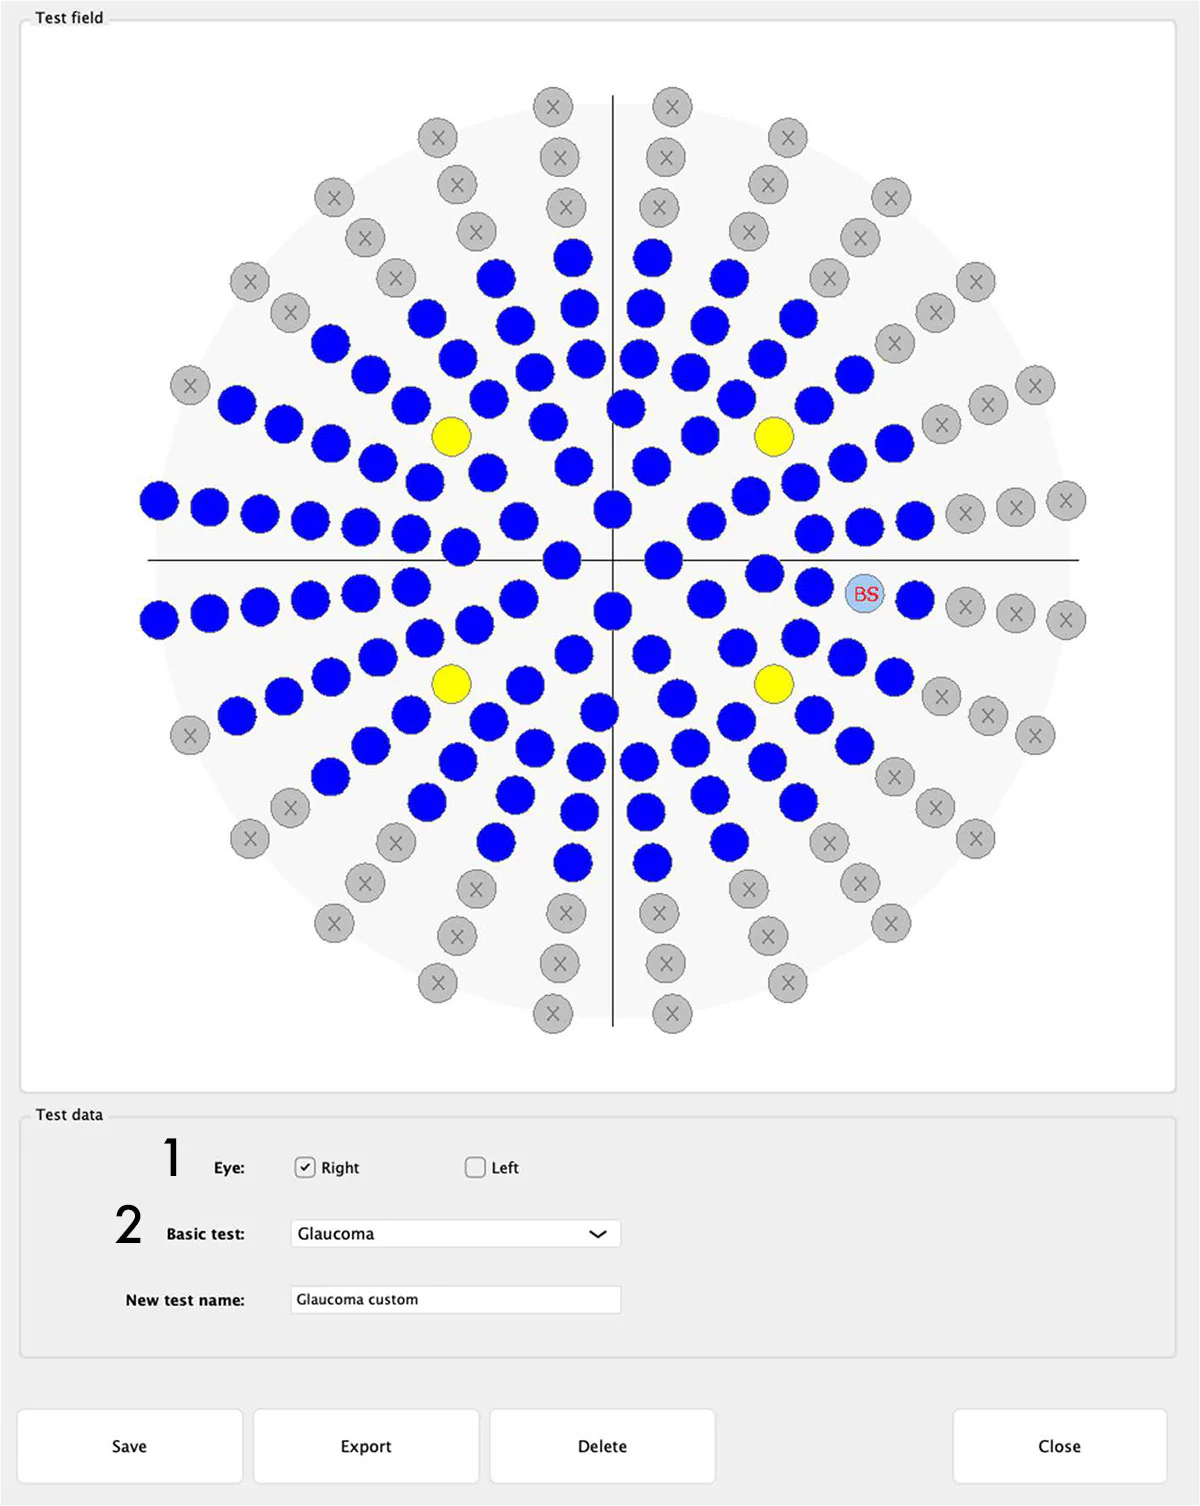
AP-600 Perímetro Automatizado é um dispositivo de diagnóstico moderno para testes rápidos e precisos do campo visual do paciente, utilizando perimetria estática ou cinética, entre várias estratégias de teste disponíveis. Na perimetria estática, o campo visual do paciente é avaliado projetando-se brevemente um estímulo de tamanho, brilho e localização conhecidos na superfície interna de uma cúpula aproximadamente hemisférica. A iluminação da cúpula é controlada automaticamente para estabelecer o contraste desejado entre o estímulo e a área ao redor. O AP-600 permite definir o limiar de sensibilidade da retina em uma determinada área, bem como realizar um teste de triagem rápida. O software do perímetro possui vários mecanismos internos que aumentam a confiabilidade dos resultados. O exame do paciente é realizado de forma automática, e informações detalhadas sobre o progresso do teste são continuamente apresentadas ao operador na tela. A interface amigável e fácil de usar permite uma navegação intuitiva pelas opções disponíveis. O usuário pode visualizar e analisar os resultados dos testes em vários métodos de apresentação, incluindo análise de regressão. O desempenho de fixação do paciente é monitorado por uma de duas possíveis técnicas: a primeira é a técnica de Heijl-Krakau, com apresentação aleatória de estímulos na região do ponto cego; a segunda é baseada na câmera digital integrada, que permite a detecção ocular durante o exame e no ajuste da posição do paciente. Graças à detecção automática da posição da pupila, é possível realizar um controle automático contínuo da fixação. O desempenho de fixação do paciente é continuamente exibido ao operador em ambos os casos. Além da perimetria estática, o AP-600 permite a realização de perimetria cinética que emula a perimetria manual padrão de Goldmann.

Falar com um especialista

Focus on the patient – ​​greater patient comfort.

Focus on the patient – ​​greater patient comfort. Visual field testing is a collaborative effort between the clinician and the patient. Visual field testing, also known as perimetry, is a team effort. A patient who receives adequate support, and where every effort is made to maximize comfort, improves the reliability of the visual field test. This greater reliability in the test translates into greater accuracy and effectiveness in diagnosis and management for the clinician. In turn, this improves patient outcomes and satisfaction throughout the entire journey, which can last decades. Frey has provided greater patient comfort with a chin rest design focused on comfort and stability. The patient’s head is supported throughout the examination. The AP-600 has improved ventilation for the patient, which reduces stress and improves comfort.

The Perimeter AP-600 comes with an integrated PC along with an integrated touchscreen monitor that controls test execution and device operation, as well as a patient response button.

Accurate Results

The stimulator dome provides a high density of concentric points. Enhanced stimulus control combines with automated eye tracking, providing accurate and repeatable examinations of the patient’s visual field loss.

Quick Test Times

Efficient testing is reliably performed using rapid threshold screening strategies and enhanced fixation methods. Patients with advanced visual field loss are supported through the use of standard calibration and neurological testing methods.

  • 1 – A test field with the points to be examined: At each point, a value in decibels is written, indicating the brightness of the tested point at that moment. Points already tested appear in blue, while points under test appear in green, red, or black. A point not yet started appears in gray. Green indicates that the patient saw the last tested brightness, red indicates that they did not see it, and black indicates that the response was abnormal (too fast or too slow) and should be repeated.
  • 2 – Chin and forehead support control buttons: used to adjust the patient’s position correctly. The patient’s eye should be in the center of the preview window, although it does not need to be perfectly centered.
  • 3 – Panel with patient data and test parameters: contains patient information and parameters (name, false-positive and false-negative errors, loss of fixation).
  • 4 – Panel displaying the patient’s eye camera image: shows the image from the eye camera. For correct digital tracking and test execution, it is important that the pupil is in the center of the image (it doesn’t need to be exact). More importantly, the patient must maintain focus on the fixation point. The software calculates the eye position through digital analysis of the image with reflections from the infrared diodes (two white dots inside the pupil).

Viewing Test Results

You can view test results from the main screen (by clicking the Test Results button) or from the patient data management (described in the “Managing Patient Data” section). In the first case, you will see a list of patients, and selecting a record will open a list of available tests.

Static Test Results

The static test results screen provides the following information and functions:

  • 1 – Test Parameters Panel: displays the execution parameters and indexes.
  • 2 – Description: The editor allows you to insert a description.
  • 3 – Results Presentation Panel: presents the results of the visual field examination in graphic or numerical form.
  • 4 – Display mode selection box: allows you to choose a display mode for the results.
  • 5 – Print button: allows you to print the test in one of three standard formats for static tests:
    • HFA Standard
    • 7-in-1 Standard
    • Single field
  • 6 – Export button: allows you to export the data in PDF, JPG/PNG or DICOM format.
  • 7 – Next/Previous buttons: allow you to navigate between chronological exams without closing the results window or selecting manually.

Test parameters determined from the results (More information: Click HERE.)

  • Loss of fixation : This parameter is measured in two ways: using the Heijl-Krakau method of blind spot stimulation or through a digital camera and analysis of eye position. The first method checks fixation randomly between measurement cycles. The second continuously monitors the position, providing fixation information during each measurement.
  • False positive error : Indicates patient responses to stimuli that were not presented. The program periodically executes a “dead” loop without stimulus to check if the patient presses the button. The most common cause is the patient pressing rhythmically or not understanding the procedure.
  • False negative error : This occurs when the patient does not respond to a stimulus that should be visible. This is tested at points whose threshold has already been determined, but presented with a brightness 6dB above the threshold.
  • Fluctuation : Defines the variability of the designated brightness levels by retesting four predetermined points. The four points are chosen randomly in each quadrant up to 22˚ from the center. The fluctuation increases as the difference in sensitivity between repeated points grows.
  • Tested – Number of stimulus presentations : Specifies the number of stimuli in relation to the number of test points.
  • Sensitivity level in circles 1 and 3 : Sensitivity determined by the two circles closest to the center.
  • Slope – Theoretical slope of the sight hill : Specifies the predicted slope of the hill, in decibels per 10 degrees.
  • Level Zero : The most common decibel value in the result.
  • Average : Average value in decibels calculated from all points. For points not seen (marked with an X), -1 dB is used.
  • PD pattern defect : Determined from the projected Hill of Sight graph.
  • Average Defect AD : Average of all differences formed by subtracting the values ​​of the tested points from the age-specific norm value.
  • GHT – Glaucomatous Zonal Comparison : Compares five zones in the upper and lower halves of the field, in typical areas of glaucoma lesions. The zones are symmetrical to each other and cover up to 30 degrees from the center. The 1° circle and points near the blind spot are excluded.
  • 1 – Test field
  • 2 – Chin and forehead support control buttons: used to adjust the patient’s position correctly. The eye should be in the center of the preview window.
  • 3 – Panel with patient data and parameters: contains patient information and test parameters (name, false-positive/negative errors, loss of fixation).
  • 4 – Eye camera panel: displays the image in real time. The software calculates the eye position based on digital analysis and reflections from the infrared diodes (two white dots in the pupil).
  • 5 – Fixation bar: represents the level of fixation over time. It can be BLACK (indeterminate), RED (loss of fixation) or GREEN (correct fixation).
  • 6 – Comments field: allows you to add visible observations to the results.

Kinetic Test Results

The kinetic test results screen provides the following information and functions:

  • 1 – Isoptores: drop-down list showing patient parameters and responses.
  • 2 – Buttons A to H: correspond to the isoptores tested in sequence. Each isoptor is displayed in a different color for easier reading.
  • 3 – Print button: allows you to print only one field. It is possible to obtain separate printouts for each isoptor.
  • 4 – Export button: exports to PDF, JPG/PNG or DICOM.
  • 5 – Next/Previous buttons: navigation between chronological exams without closing the results window.

A feature that allows the user to define a custom test. This function is especially useful when only a specific part of the patient’s visual field is of interest, such as an area where problems have already been detected.
To start editing a test, select the desired eye (1) and, if desired, the test field from which you want to build a new one (2). The standard test fields available are:

  • Central 22˚
  • Central 30˚
  • Driving
  • Full
  • Glaucoma
  • Stain
  • Peripheral
  • Wide

TEST FIELD AND TESTING STRATEGIES

A perimeter test consists of a test field that reflects the extent of the visual field being examined and a strategy or algorithm used to test points within that field.
The standard test fields available are presented below.